let me start by saying that i’ve absolutely saved no money by doing this project myself!
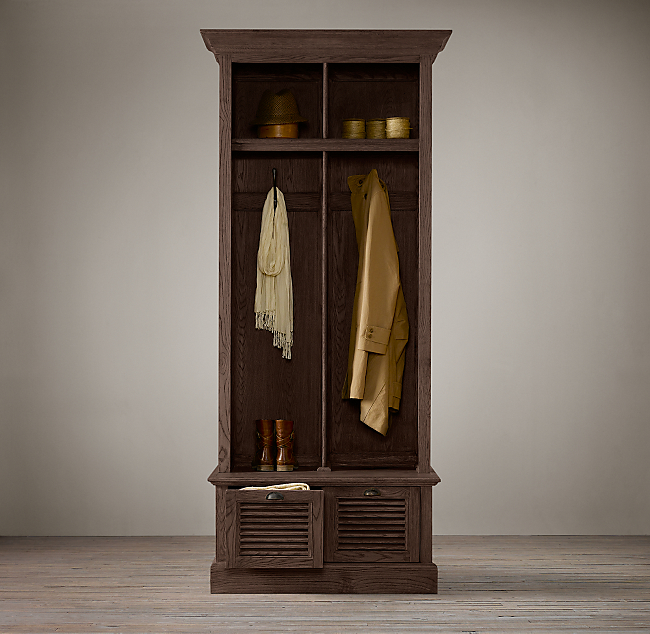
if i account for the time spent, mistakes made, injuries sustained, and my hourly billing rate, i’d be better off having purchased the Restoration Hardware version.
BUT, this has been a great project and i feel that my painting skills came a long way! i tried many new things and i believe the middle-of-the-night elbow grease has paid off.
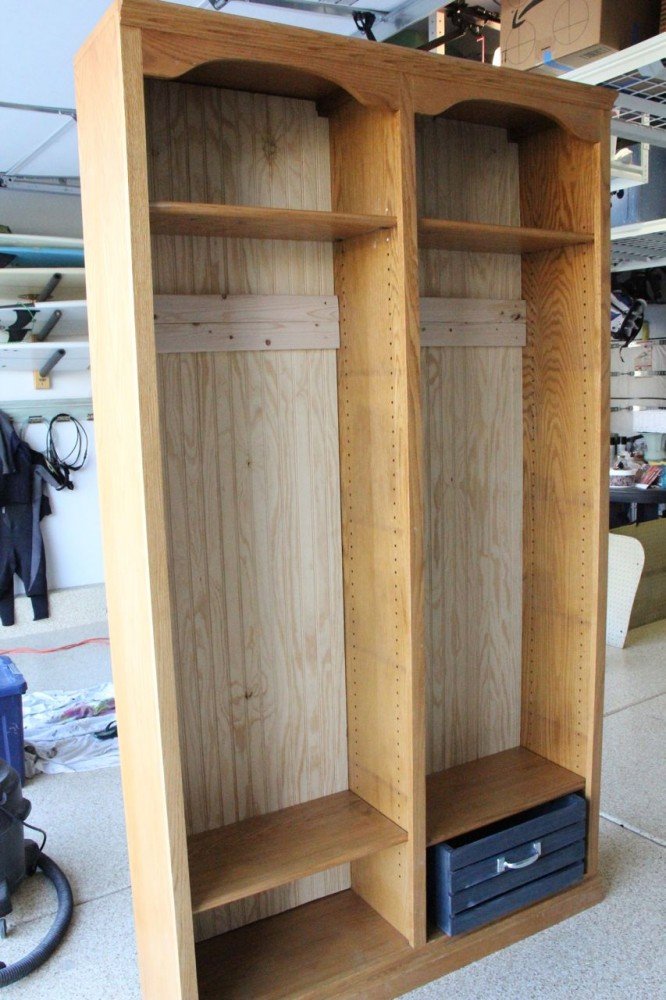
here’s where i started. a Craigslist oak bookcase, to which i added bead board and a few 1″ x 2″ boards to hold hooks. i chose 1x2s because i wanted the gap between the boards to match the bead board. allows for more paint and wax to settle in, which provide for a more rustic look.
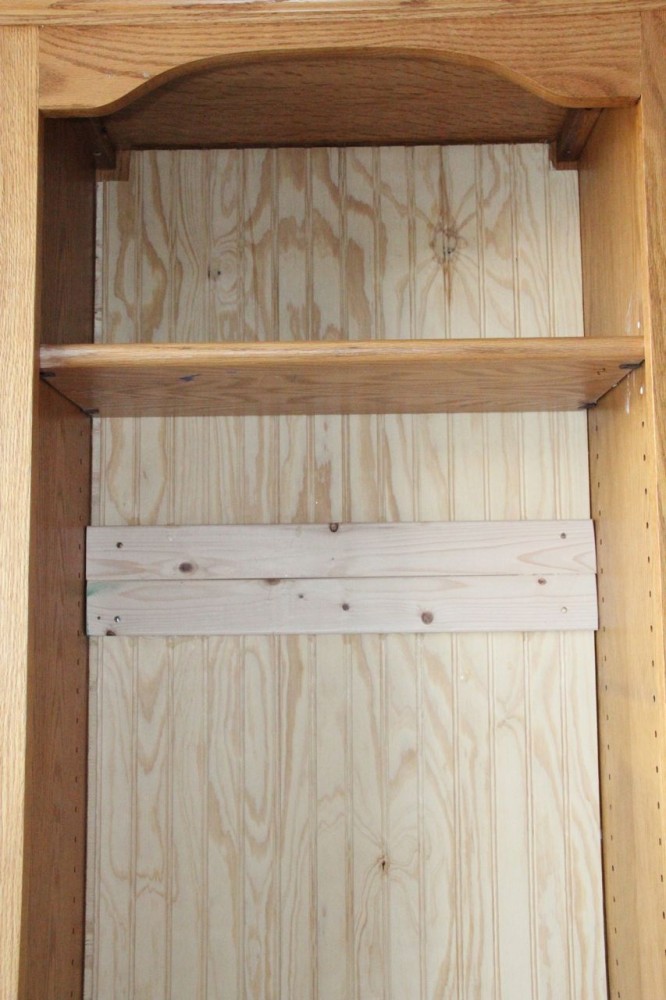
i used two 2.5″ carriage bolts for each of the 1x2s and added a 1″ x 6″ across the entire back of the book case to provide more support for the hooks and weight of what will be placed on the hooks.
you can read up on my misadventures with the woodworking portion of this project here. yes, there are a few reasons why the wood isn’t cut straight, and why i may potentially need shoulder surgery in the coming months (praying that i’m just joking, but i’m not sure!)
my first coat was a wash which i custom mixed as follows:
1/2 part Annie Sloan Chalk Paint (ASCP) Graphite (my new favorite color!)
3 parts ASCP French Linen
1/3 part ASCP Duck Egg
10 drops of dark Old English furniture polish
1 part water
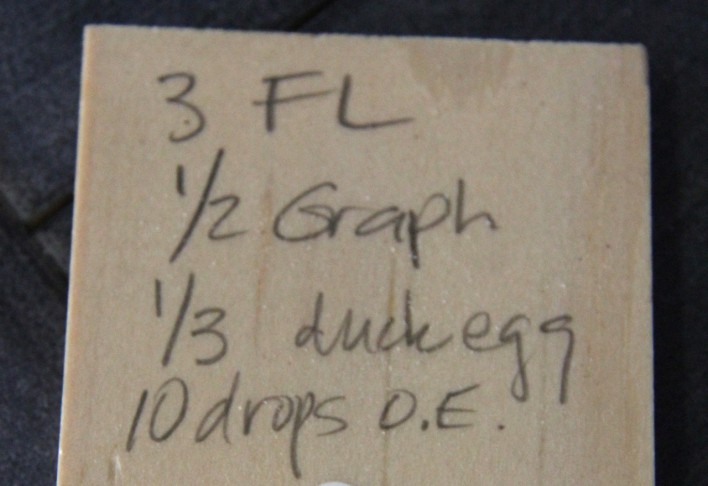
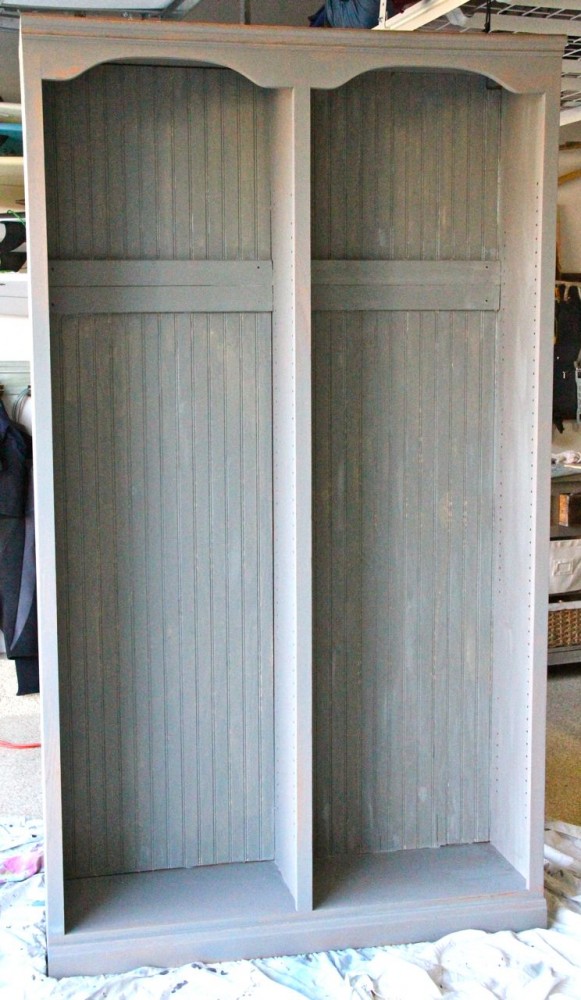
i wanted a blue-ish hue and to go darker than the original Restoration Hardware piece. i was hoping to achieve a more industrial and masculine look.
you can see here that even after just one coat, the coverage was pretty good. 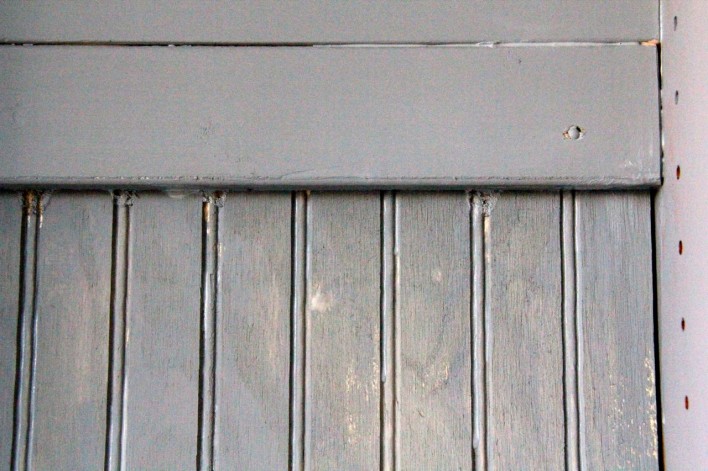
next, using Miss Mustard Seed Milk Paint in Kitchen Scale, i quickly went over the entire piece to provide a more layered and blue-ish hue. the MMSMP dried quickly because it was 100 degrees the day i found an hour to work on this. eeeesh. sweaty chicks wearing gloves and wielding paint brushes aren’t cute.
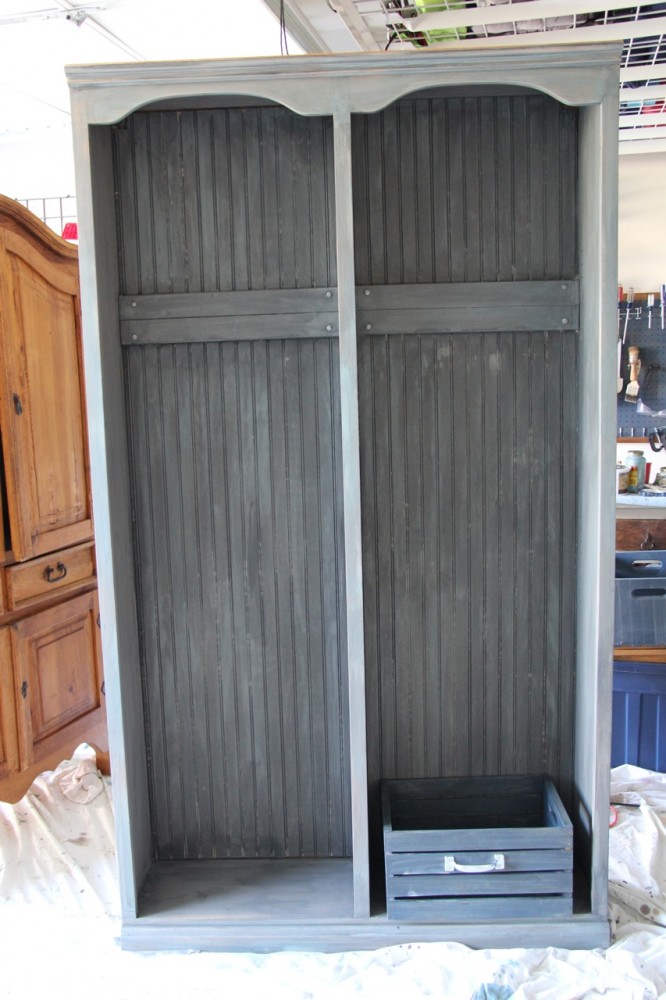
ooooh, it’s starting to really get a deep, layered look here. but i’m not done yet!
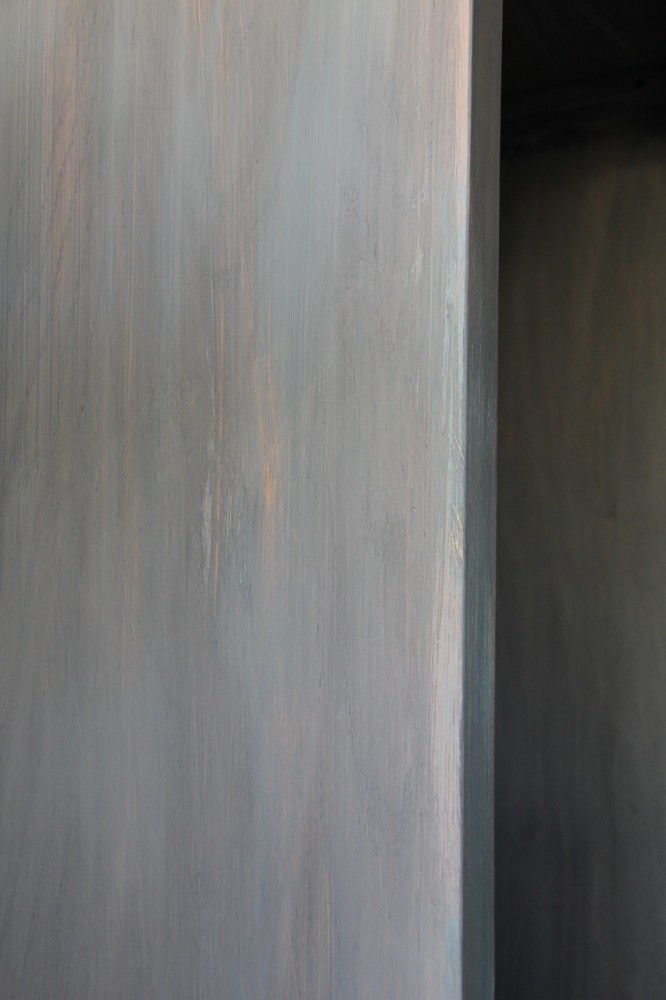
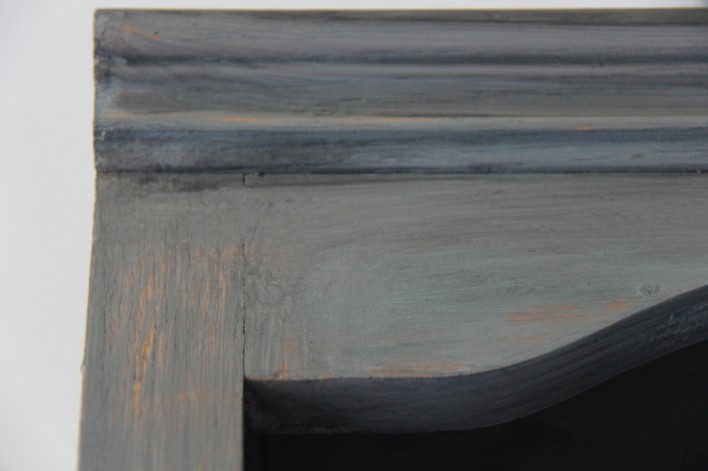
i lightly sanded after the milk paint to allow some of the wood to poke through. then with a very watery Graphite wash, i went over the entire thing, waiting about a minute before wiping, and not wiping too heavily. then i used steel wool to smooth the wood out before the next step.
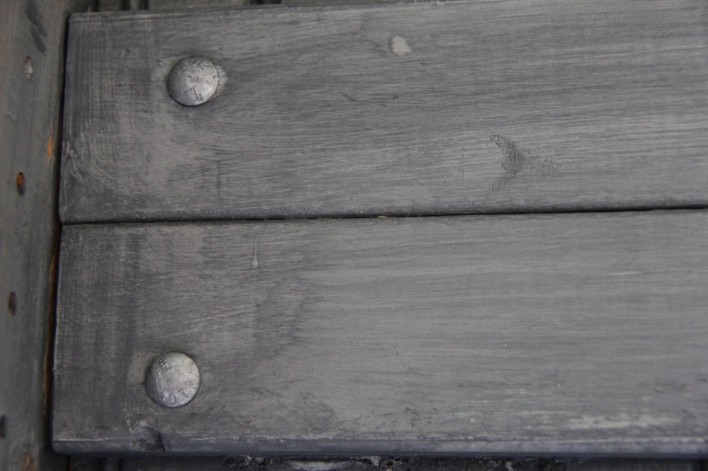
i considered tinting ASCP clear wax with some pure white, but Deb from my local stockist, Peinture, said it may cause the wax to roll off, and i wanted more white to pop through, so i’ll save that experiment for another project.
with a very watery ASCP Pure White wash, i dry brushed onto the bead board and wiped off quickly. then steel wool to rub off excess. i wanted the bead board to stand out a bit from the rest, but ever so subtly. many of these pictures were taken at 11pm in the garage, so apologies for the quality.
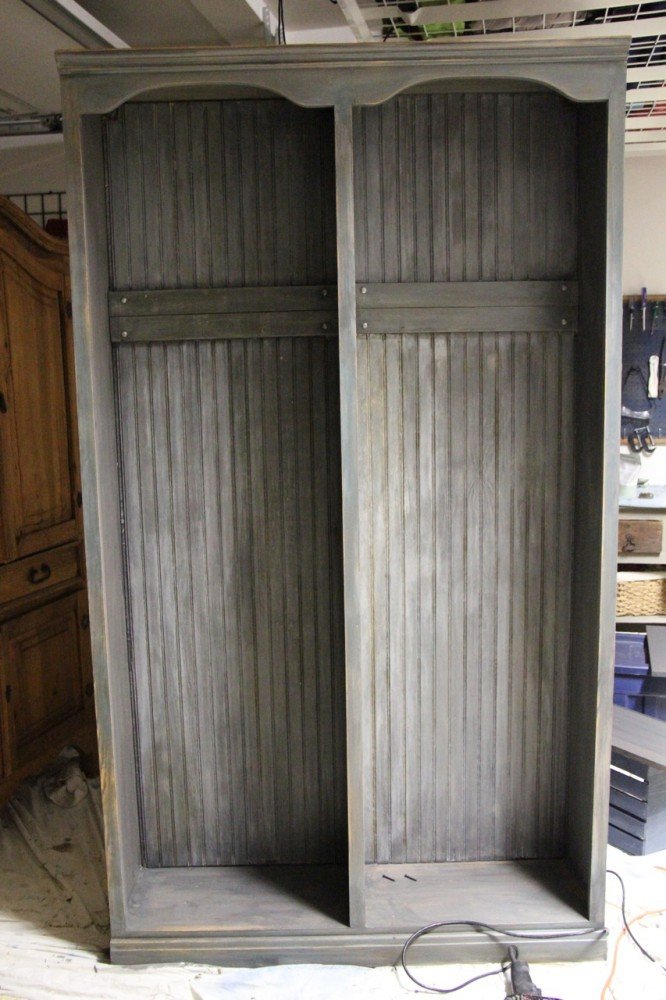
two coats of ASCP clear wax over the whole thing. then using a toothbrush, i rubbed dark wax into the bead board grooves. this photo was also taken at night, so i used the flash to give a better idea of the truer color. in reality, this piece is much bluer than what is showing here.
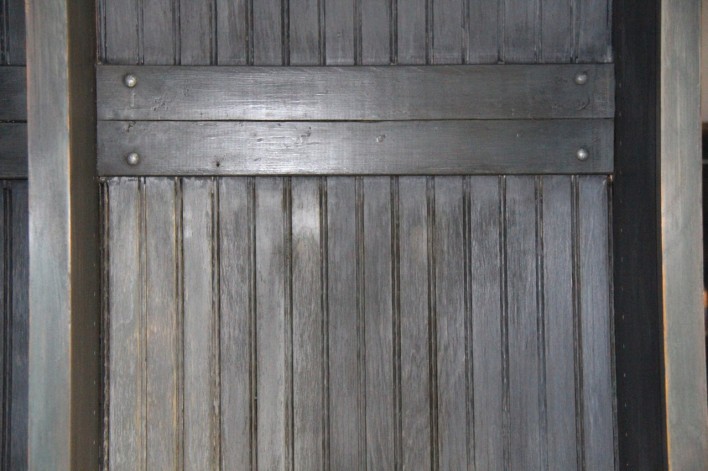
the color is really starting to come together here!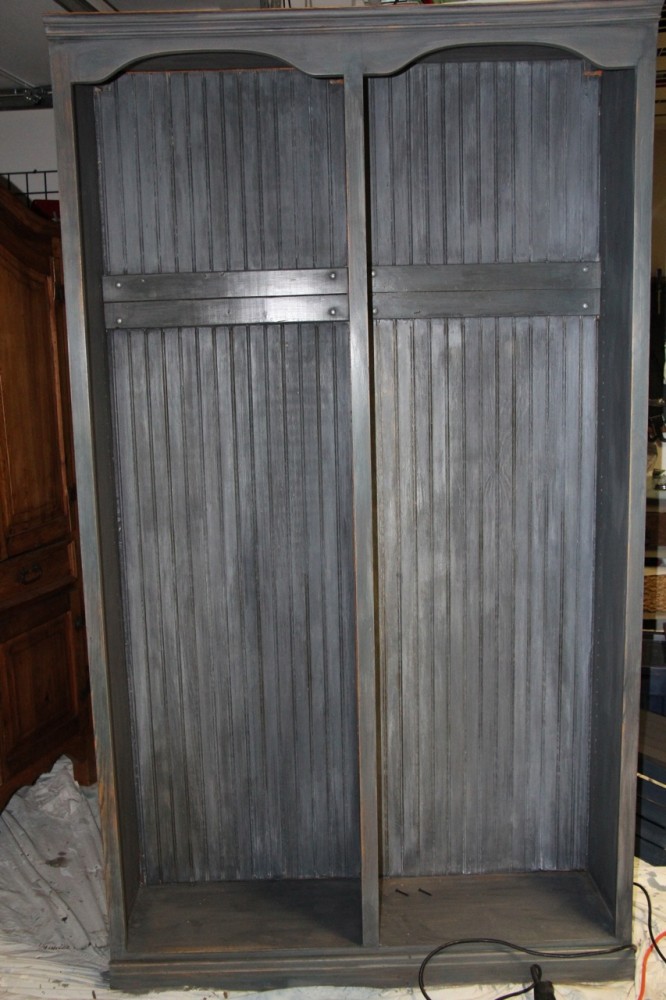
by the time i hit 11:30 pm and was trying to do simple division, my mind refused to cooperate. i somehow managed some basic math and haphazardly marked the spots.
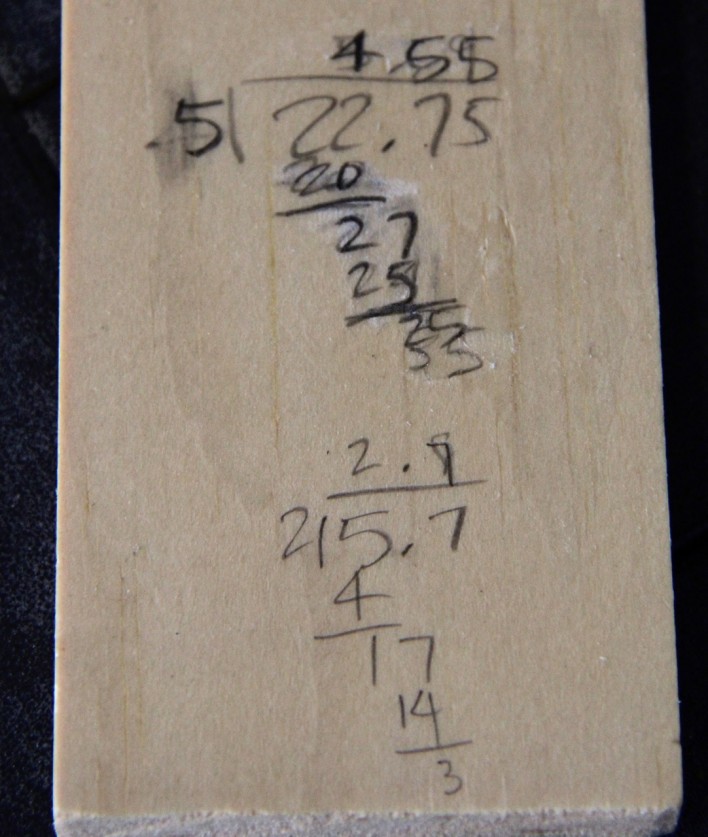
My 5/6th grade teacher Mrs. Adkins wouldn’t be proud of this moment…
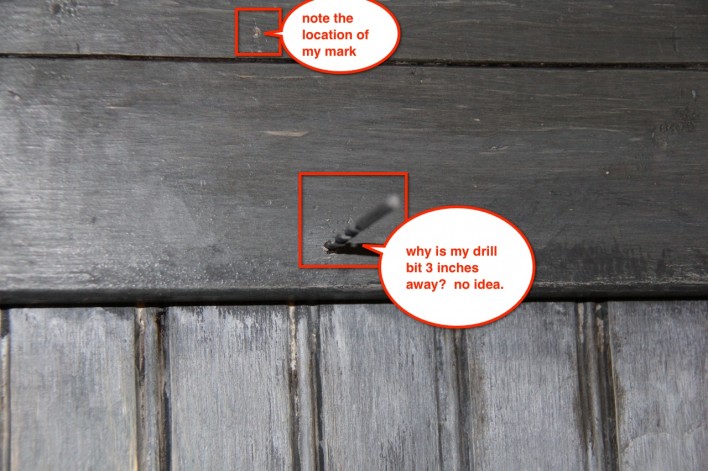
so when the drill bit pulled out of the drill and stuck in the wood, i stepped back to realize i had no idea where my mark was.
i drilled in the wrong spot. good grief. it was dark. what was i thinking? so i put on my camping headlamp.
really? yup. don’t hate.
i decided i need to go to sleep and regroup. i called in support and my friend Danny came to the rescue.
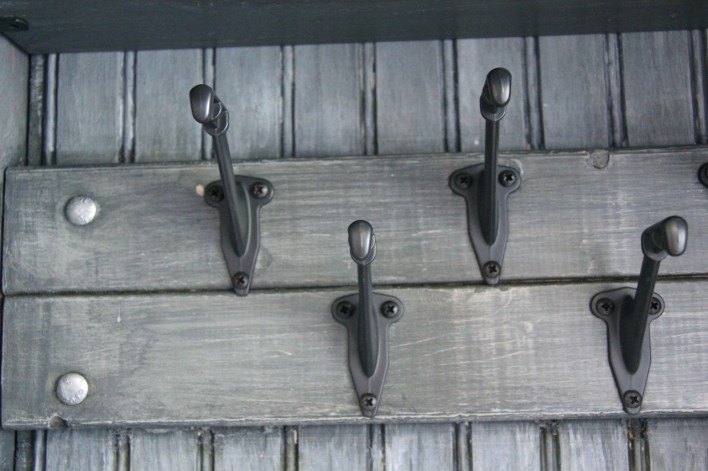
he secured the piece to the wall to avoid any earthquake mishaps and installed the hooks….lest i still stay in the garage for another week with my long division.
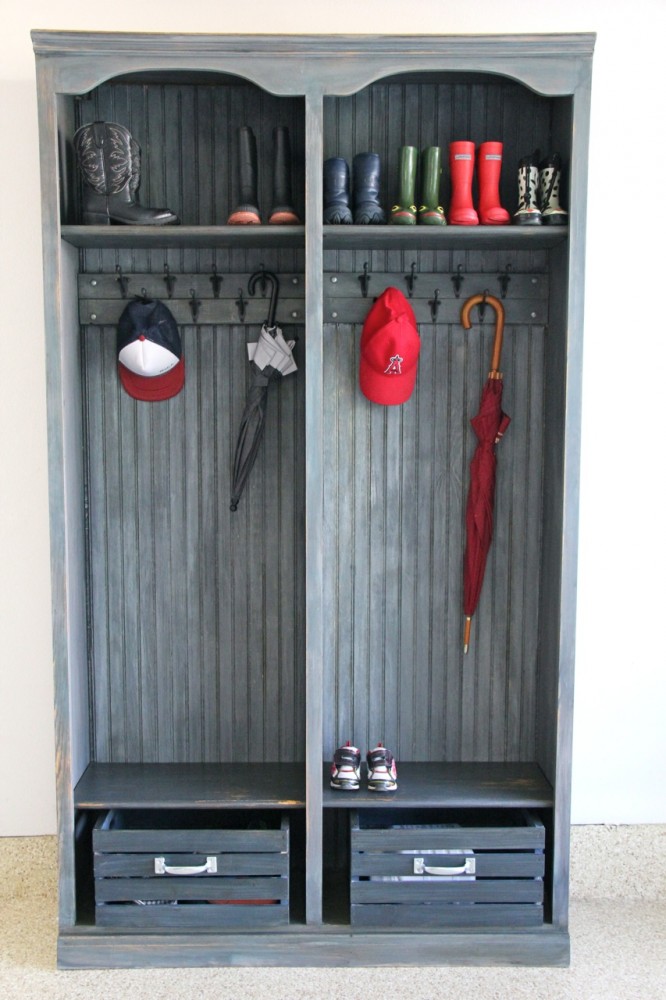
and now we’ve got our mud room, or rather, sand room. with no rain in so cal, we track more sand than we do mud.
here’s Big A with his hammer helping Uncle Danny.
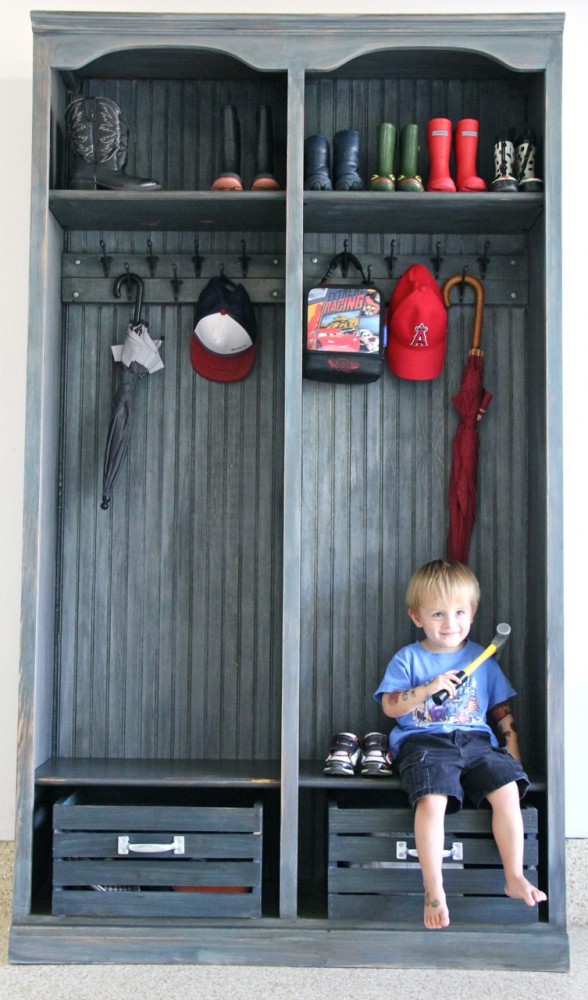
this is my favorite piece thus far. i’ve been using Annie Sloan Chalk Paint for 2.5 years and this project proves that you can achieve a ton of different looks with the paint.
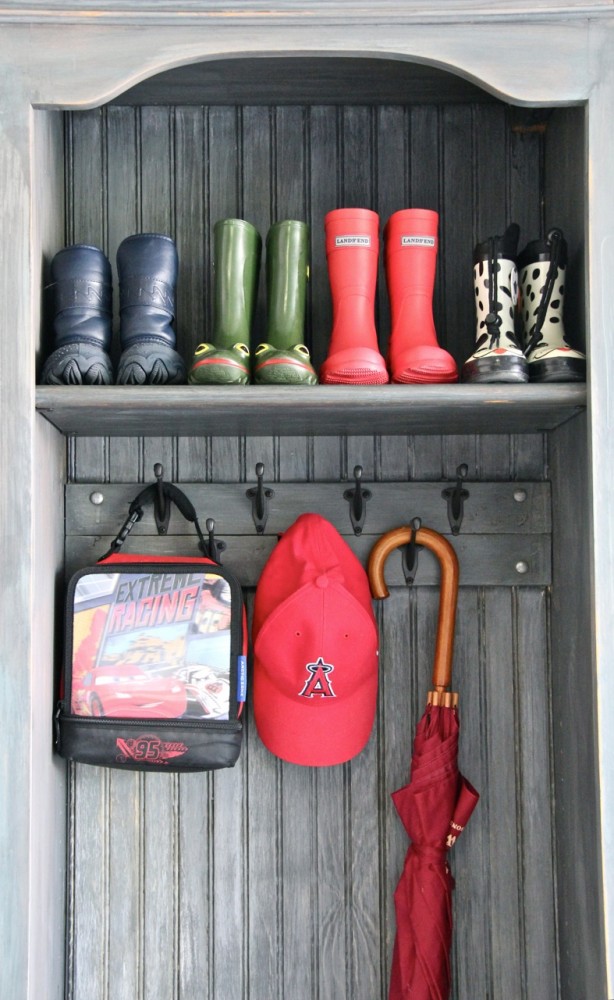
i’ve painted pieces to look shabby chic, modern, to Restoration Hardware. 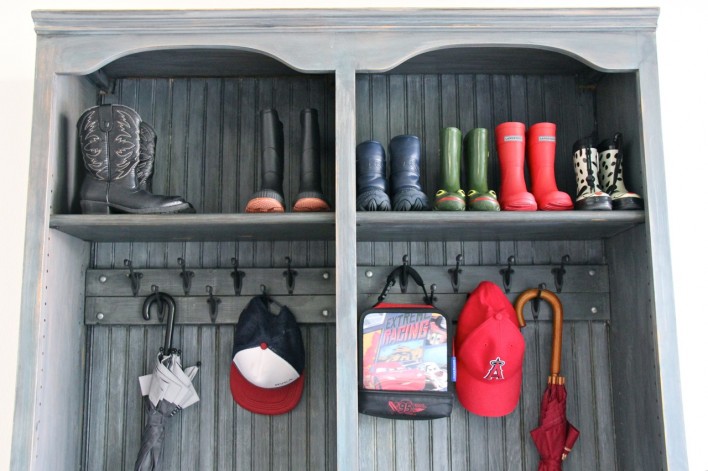
the sitting bench is adjustable since this is a repurposed bookcase. i distressed the bench a lot as i knew the kids would get it even more scuffed up. i’ve found Annie Sloan’s wax to be hyper durable, as evidenced by our zero to hero coffee table. the kids run their Hot Wheels on it at least an hour a day for the past 2.5 years, and it’s still looking great.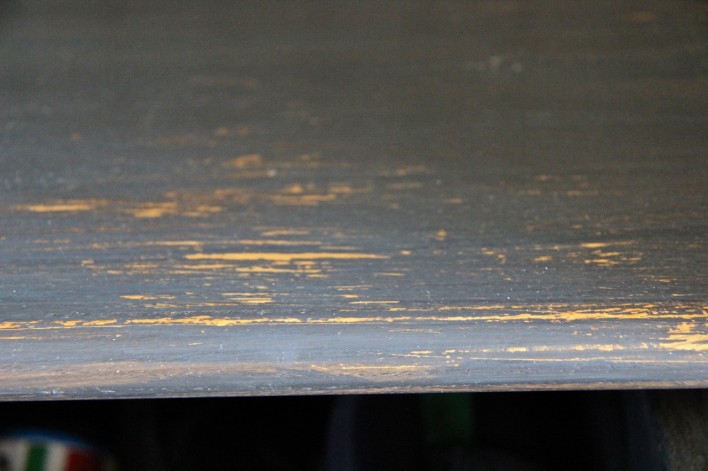
this Thomas the Tank umbrella is even happy in its new home. 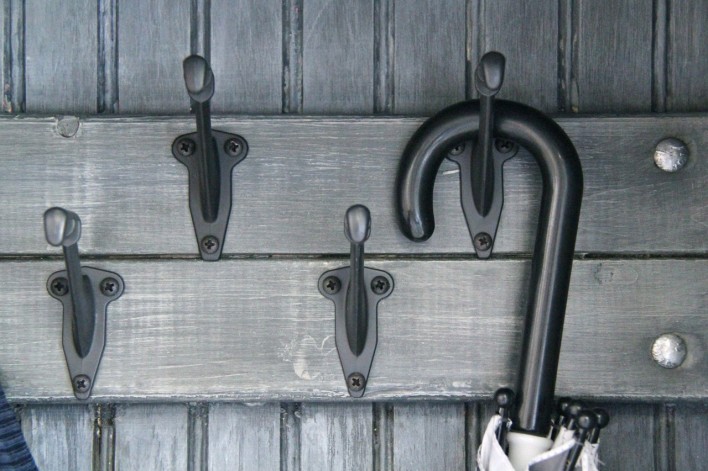
and those cowboy boots….well, we’re not cowboys, but we let our kids dream big.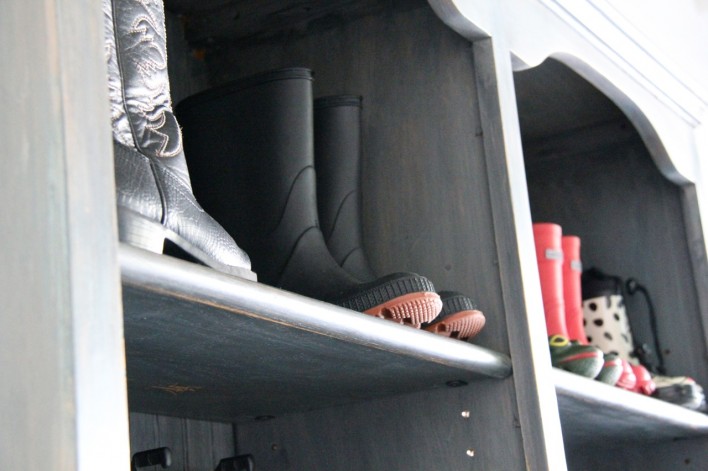
thanks, babes, for sticking with me through this project! now we can finally park both cars in the garage again.

Furniture Feature Friday at Miss Mustard Seed
The DIY Showoff Project Parade



I love this and love the color of it too! I will be on the lookout for craigslist shelves now! Visiting from the 36th ave link up. I shared my Fall Hutch.
Thanks, April! Yes, there are amazing Craigslist freebies and cheapies to be found!! Good luck!
—
I love it, this is so much better than the Resotration Hardware one. Fabulous and the boxes on the bottom of perfect. You did an amazing job. Love, love, love it. Thanks tons for linking to Inspire Me. Hugs, Marty
Thanks, Marty! I even surprised myself on this one! 🙂
Very inspiring! It looks beautiful! I hope your shoulder is ok!
Kelly (visiting from MMS)
Thanks, Kelly! The shoulder isn’t just from the sawing, but also years and years of volleyball. I’m praying that I won’t injure it further, though!! Thanks for stopping by.
It turned out quiet nice I would say! Love the little crates on the bottoms!
Thanks, Abby! I’m hoping the crates hold up and they’re just stapled together. It may require some wood screws in the future.
—
Awesome job, excellent redo!
Thanks, Bliss! 🙂
Beautiful! I love the beadboard in the back!
Thanks! Yes, the bead board definitely gives the locker a more country look!
First, your work is beautiful! Secondly, quick question…do not have to prime or sand before the first coat? Thx, Stephanie
Hi Stephanie, that’s the beauty of chalk paint. No need to sand, prime or strip. You just paint onto any surface, whether it’s varnish, plastic, metal, or already-painted wood. While the paint provides sticker shock, if you take into account the time saved from having to prime/sand/strip, it’s worth it. Oh, and it’s low VOC, meaning, no fumes to give headaches. While I still paint with the garage door open, I’ve also painted in the house with no side effects.
Go for it! It’s fun. 🙂
It is beautiful! What a great piece. Such a fun find and what you did with it is fabulous!
Thanks, Lorie! It’s still holding up really well with all the abuse it takes from us all. Are you looking to do something similar? Happy new year and thanks for stopping by.
LOVE THIS REDO AND I WOULD LOVE TO FEATURE IT, IF THAT WOULD BE OK PLEASE LET ME KNOW
LAUREN
Yes, I’m honored. Thank you!!
http://westfurniturerevival.blogspot.com/2014/01/revival-monday-144.html
not sure if you caught the featture thanks again for letting me show your work!
This piece is beautiful! I don’t have a retailer near me that carries miss mustard milk paint, do you have an alternative you can suggest for the color you used in this piece? Thank you the inspiration!
Hi Jennifer, I’m so sorry that I missed this question. You’ve probably already moved on, but just in case, you can find many paints in the “oops” section of your hardware store to use. I simply used MMSMP Kitchen Scale b/c that’s what I had on hand. But if you water down any paint, you can probably achieve the same look. I always wipe or dab off after doing a wash and play with it to achieve the look I like. Good luck!
Just found your site and your makeovers are amazing. Getting ready to paint table and six chairs like restoration hardware. Love their stuff. I did find white wax this week. Not annie sloan but im anxious to try it. I love ascp and am also addicted. Thanks for sharing!!!
Good luck and please do send a picture when you’re done! I’ve fallen in LOVE with mixing WoodKote Jel’d Stain + Valspar clear glaze to get into the nooks and crannies. Is very forgiving and allows plenty of time to play with the colors in nooks and crannies.
I’m just awed by how many steps there are to create a finish like this…you are incredibly talented and patient! It’s gorgeous!
Michelle, you are too kind and have made my day!! Thanks. 🙂
I actually like your better then the restoration hardware one!!! I think your is bigger and really darling!!! So you didn’t save any money..It looks great and you can be proud of doing it yourself!!
Thanks, Tammy! 🙂 I think so, too!