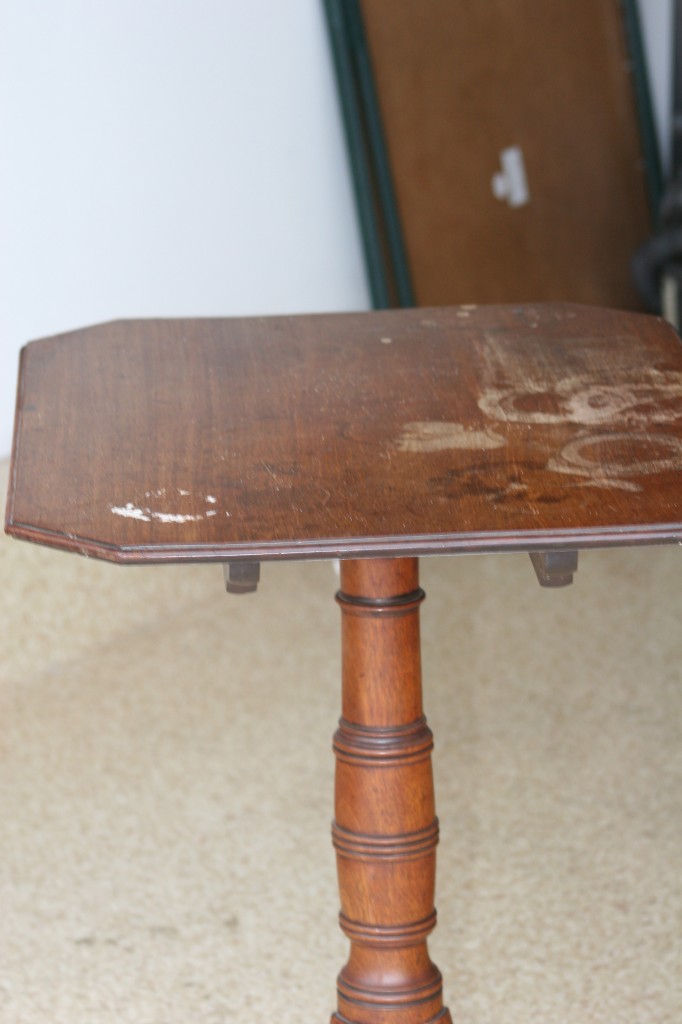
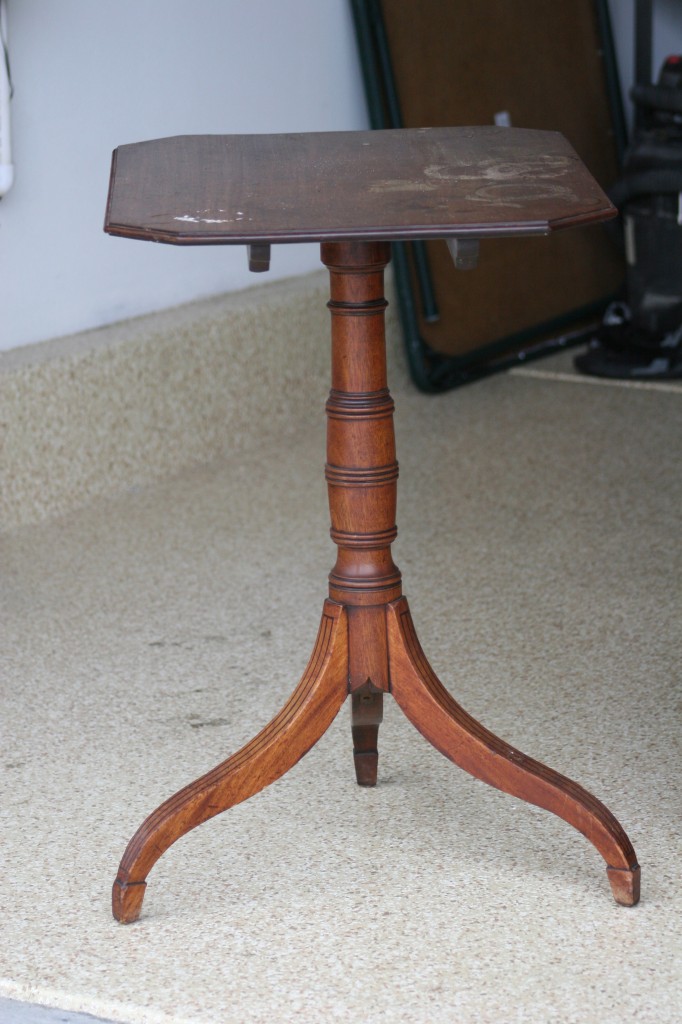
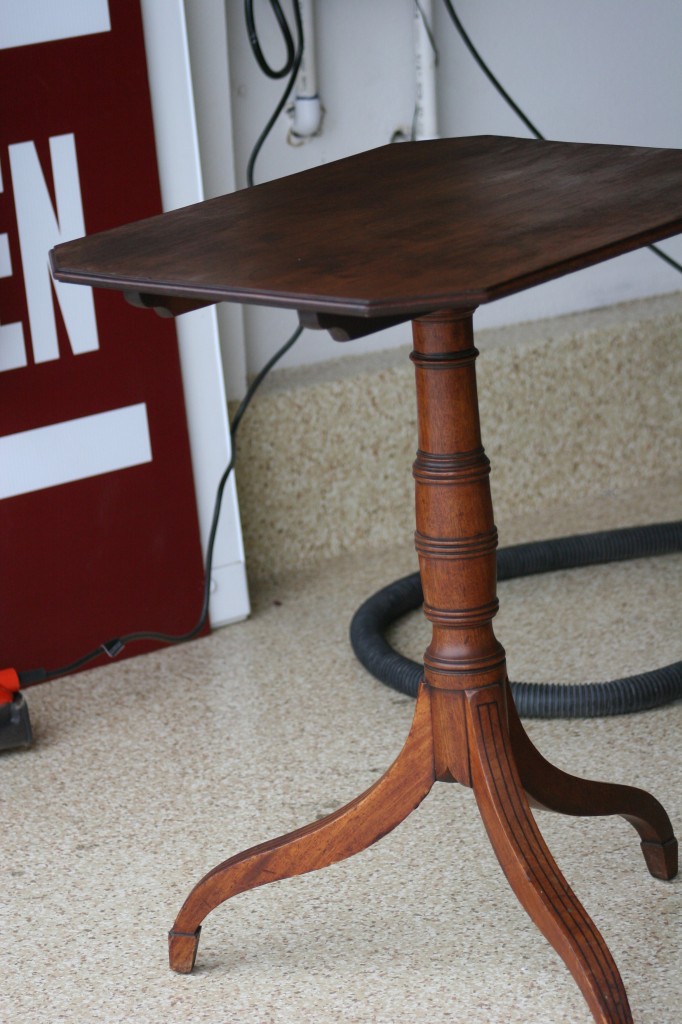
this adorable side table was handed down by my hubby’s grandparents, via his uncle.
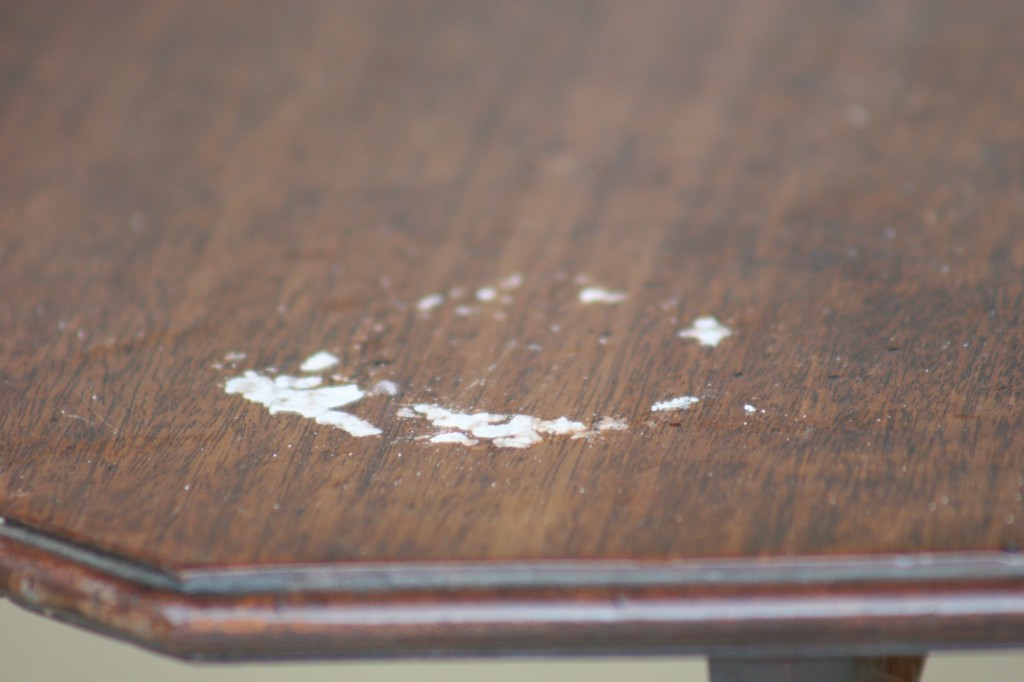
pretty beat up, but good structure. the legs were nearly perfect.
then, we had a garage sale and one of the kiddos put his half-eaten donut on the table. (confession: i love my kids…almost as much as i love donuts).
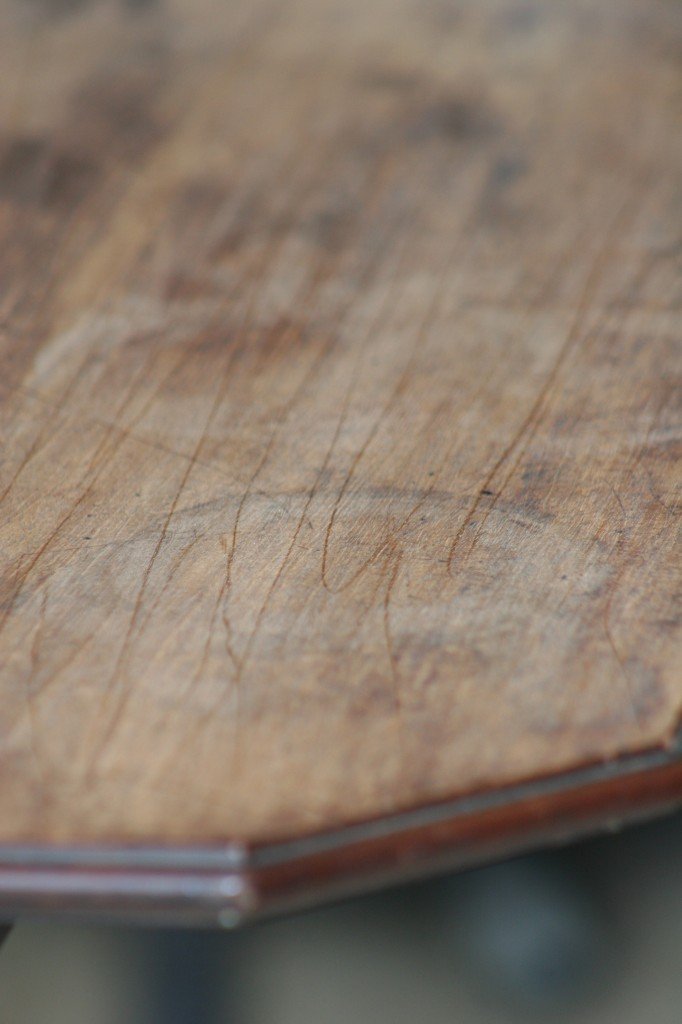
some water rings. a donut ring. but hey, “has anyone ever told you you’ve got nice legs?!”
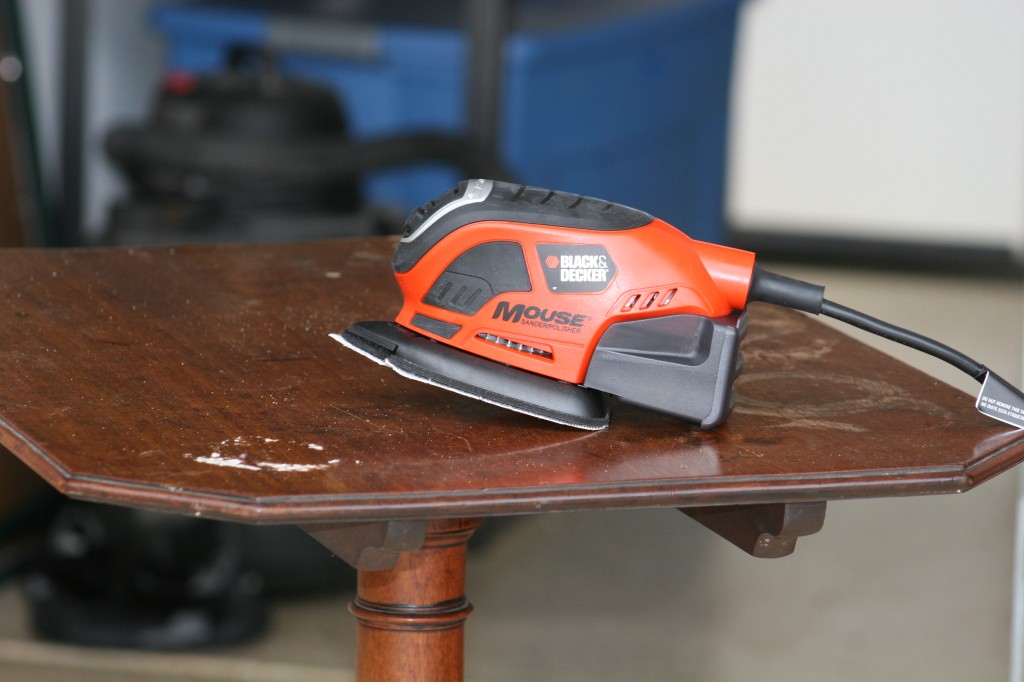
it’s a cool and handy little sander. the sandpaper velcros right on for easy change out. i used a 110 grit for this project.
after using the mouse sander (which was awesome, btw!), i used the shop vac to remove the dust. you can see the vacuum lines. nice. i need to find a replacement brush for the shop vac!
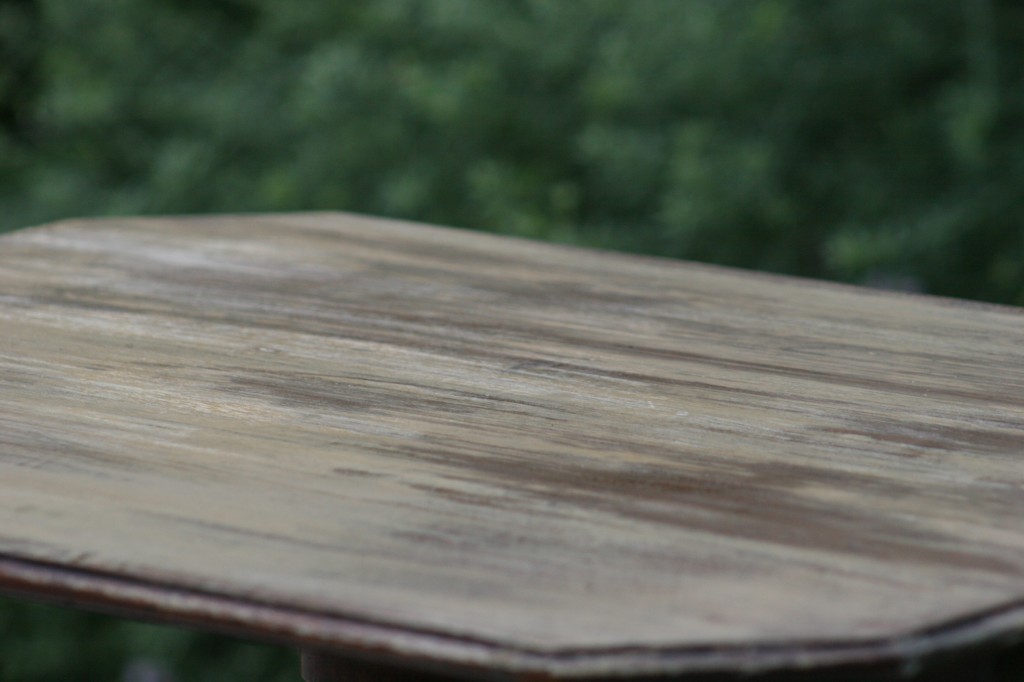
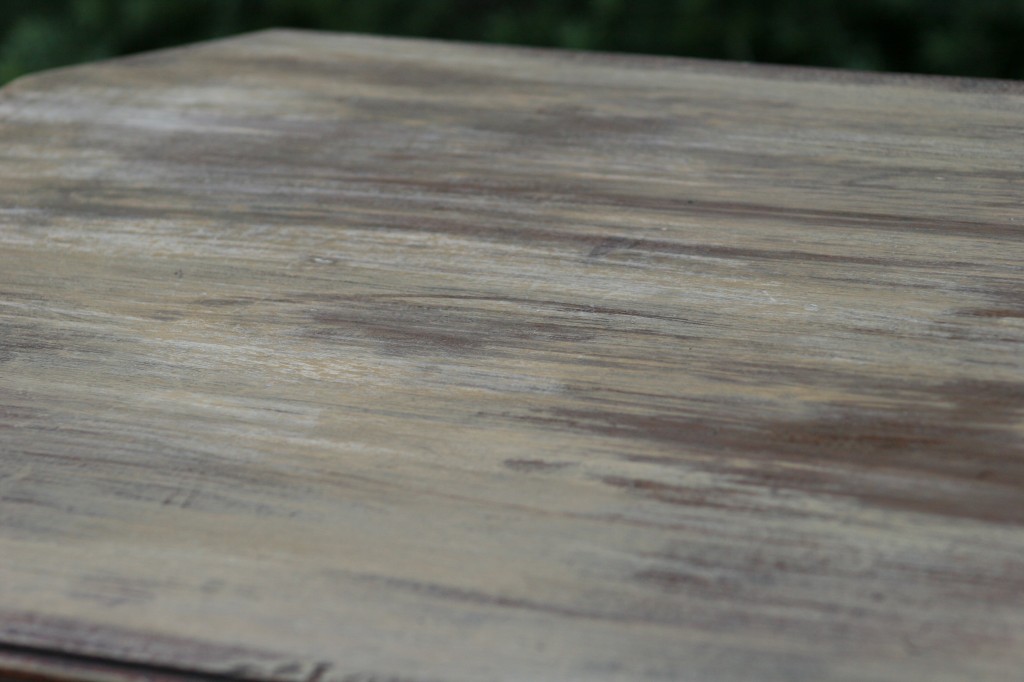
then i went a little nuts and used the Annie Sloan dark wax FIRST. i wanted to see how the wood looked…if i could hide all of the abuse the top of this side table had taken. it looked ok, but wasn’t the look i wanted. i really wanted to get a restoration hardware lustre and rustic look. so i continued on.
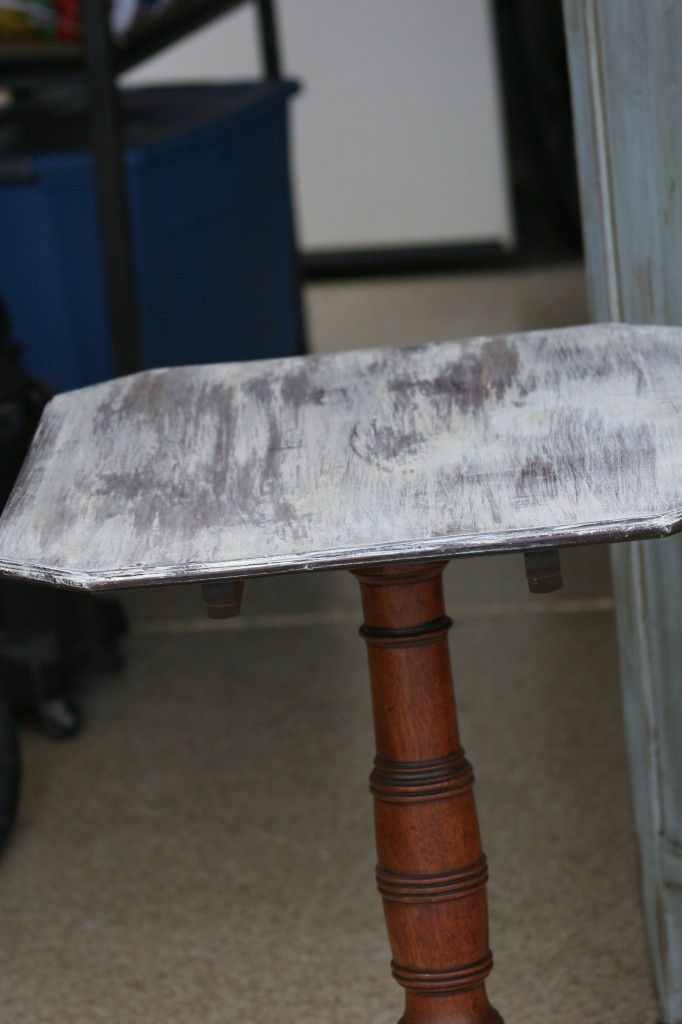
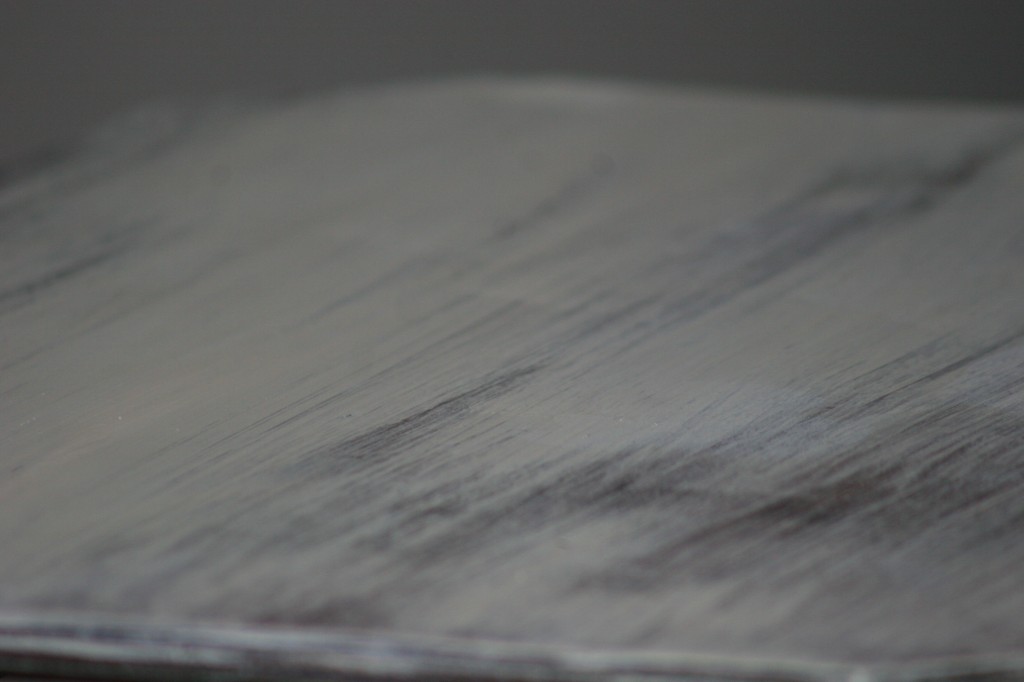
then i dry brushed on some antique white Annie Sloan chalk paint. dry brush means to lightly dip the paint brush into the paint and not do full strokes. i wanted some of the wood to peek through, so i dry brushed.
note that at any given point in any of my projects, it looks terrible and i want to quit, cry, and post the item as a curb alert on craigslist. but i tough it out thinking “well, it can’t get any worse.” at this point, i thought, aw geez…what have i done?
then, i took a soft towel and rubbed the paint in before it was totally dry. it started to soften and diffuse into the wood and the dark wax below. hmmm….so i rubbed in very sparse amounts of dark wax…ever so lightly…just to get the layered look.
i think it’s pretty cool. granted, i realize not everyone likes this look…and that’s why they don’t live with me…or get invited over for dinner.
it’s deep, rich, layered, and was so easy with the chalk paint. heck, i’m not even sponsored by Annie Sloan, but i still give her props!
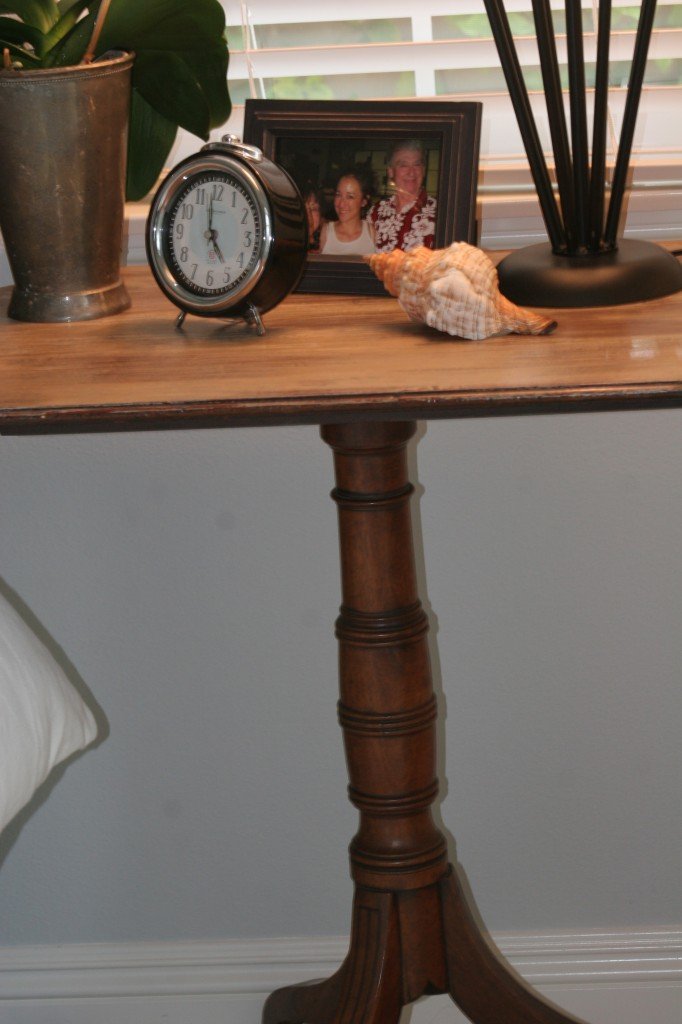
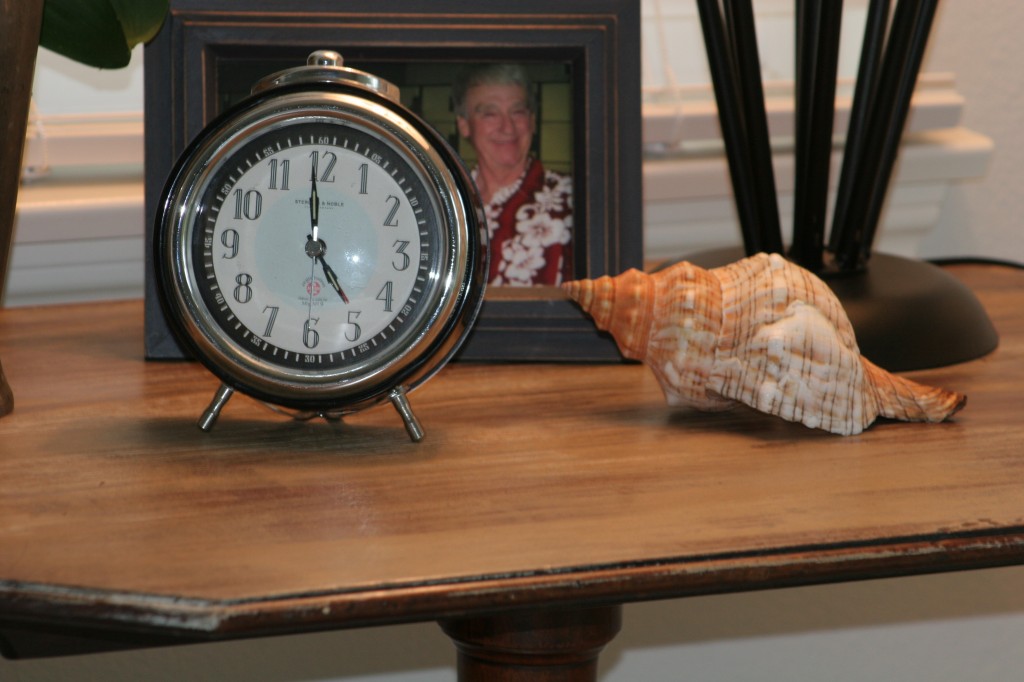
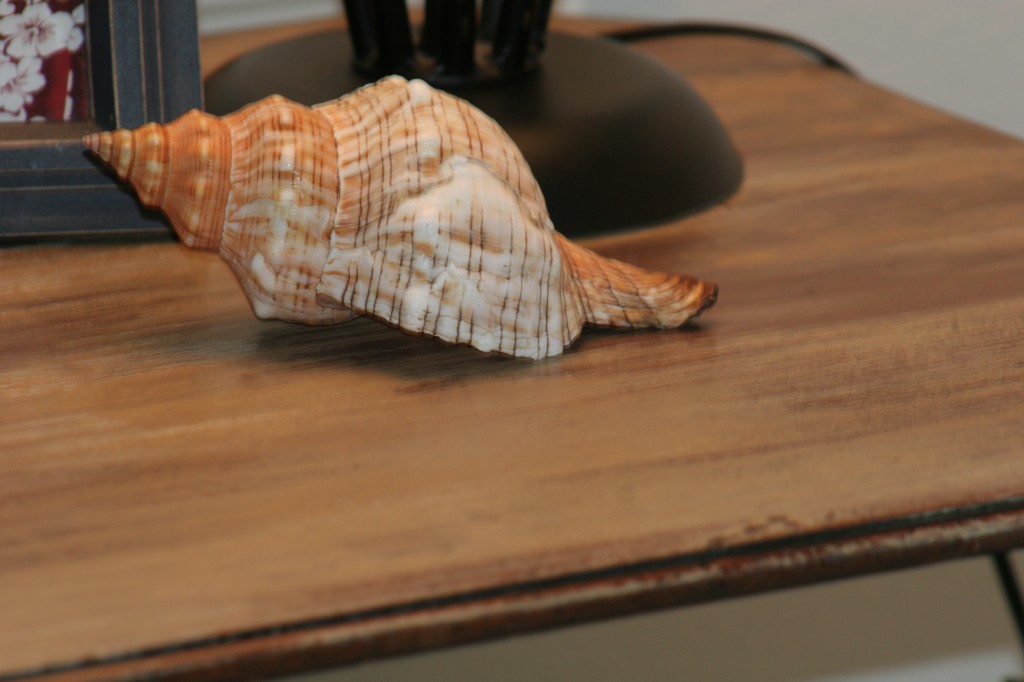
and here it is in the guest room. the light diffuses the finish even more. the Annie Sloan wax is so luxurious. the more you buff it in, the smoother it gets. is it weird to want to pet a piece of furniture? yeah, that’s weird….but not as weird as that black lamp on the table. that thing has got to GO!
even the shell is happier on the new side table.
thanks for reading. hope this tutorial helps you achieve the restoration hardware look!
