hi friends! i’m back with another furniture painting tutorial on how to use chalk paint to get a weathered wood Restoration Hardware finish.
here’s my inspiration. a wonderful wood pier that we visited on our summer road trip.
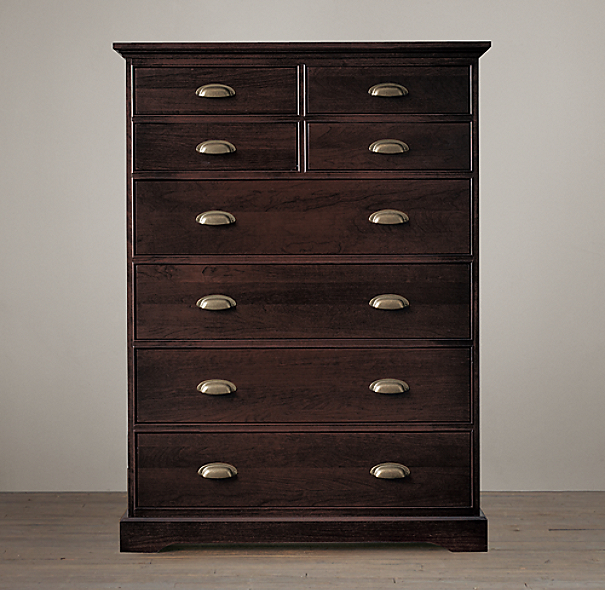
the irony is that the piece i was painting, was in fact, a real Restoration Hardware dresser….from the early 2000s when everything was dark dark dark…and depressing. admit it, you went through the phase. and now, you may still have a piece or two left laying about.
but never fear. this is a very simple technique to completely change the look. so grab your Annie Sloan Chalk Paint, some 80 grit sandpaper, and let’s begin!
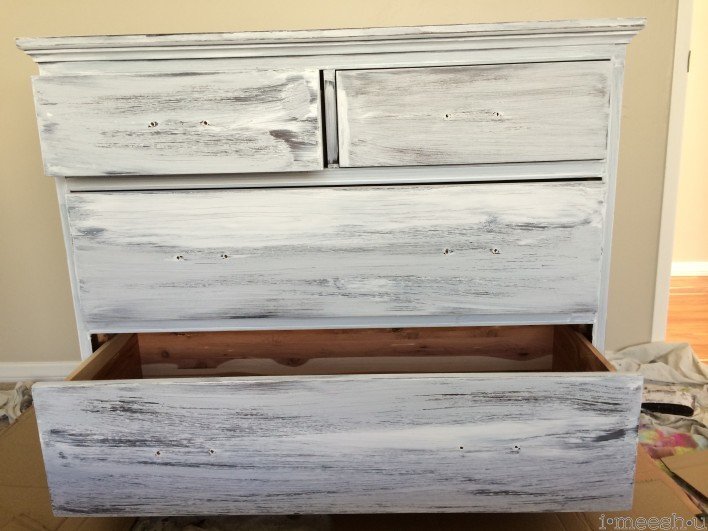
first, start with a base of Pure White. notice that while the paint looks haphazard, i’m still going along the grain of the wood. this is important bc we’ll be using the sandpaper to give it a wood grain look and texture.
as you can see, i use rubber gloves, a syringe, and painted this on carpet, which made me super duper nervous. if you look really closely, you’ll see the top of a Heinz Ketchup container. i’ve found that it’s PERFECT for holding custom mixed paint. the squeeze top saves mess. upcycling at its best!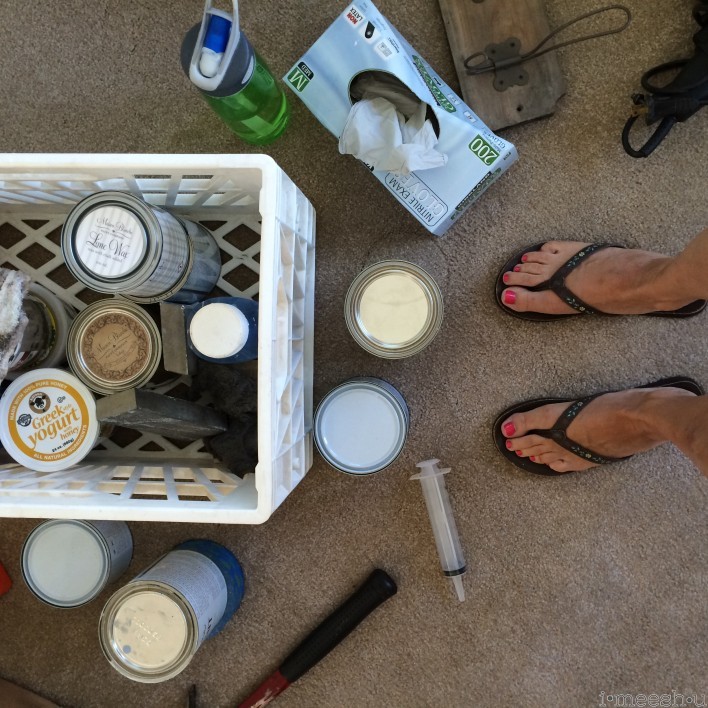
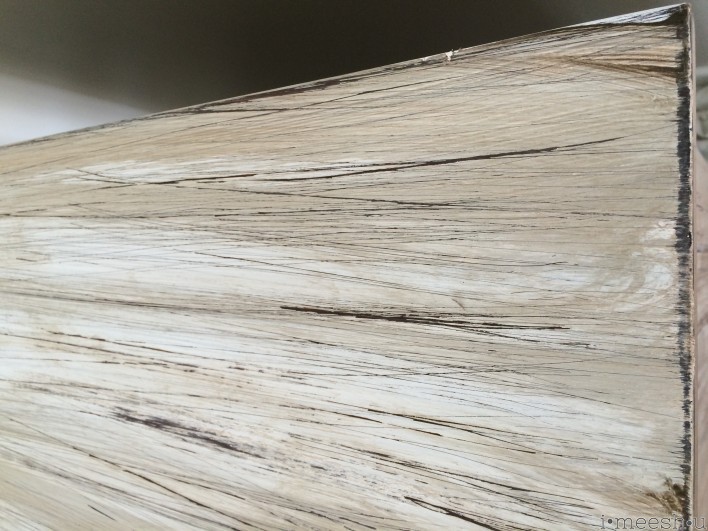
ok, next step is using your very coarse sand paper and going along the grain while the paint is still slightly tacky. i like to do this while the paint is still a touch wet so that more paint comes up and the dark wood shows more. sand with the wood grain, making sure you wipe off any chunks of paint from the bottom of the sand paper as you go. distress along the edges to your liking.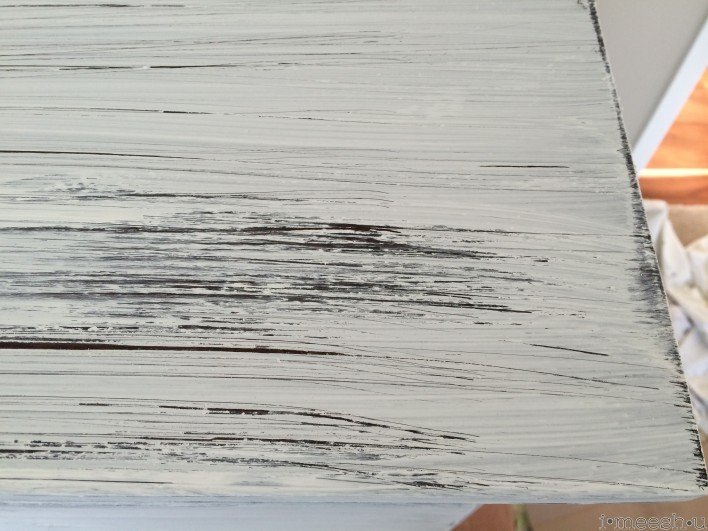
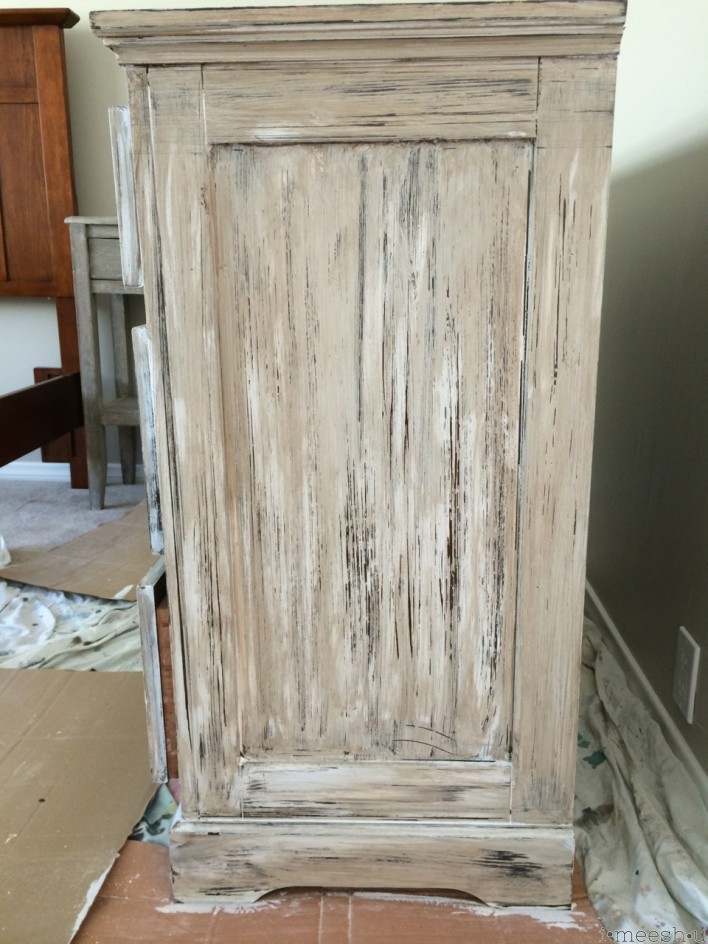
then, apply a coat of dark wax…again going with the wood grain. i prefer using an old t-shirt as it’s so soft and smooth and this piece doesn’t have any woodwork detail (flowers, doodads, antique edges, etc.). the goal here is to achieve a layered look. channel thoughts of the beach, sand, and an old busted up boardwalk or pier. that’s the look we love, right?!
you can see that i wasn’t totally uniform with the dark wax application, and that’s on purpose. i wanted to preserve some of the white from below so that the dresser has more visual appeal.
to make the piece stand out a bit more, i chose to leave the drawer frame as white, and only applied clear wax on that portion. 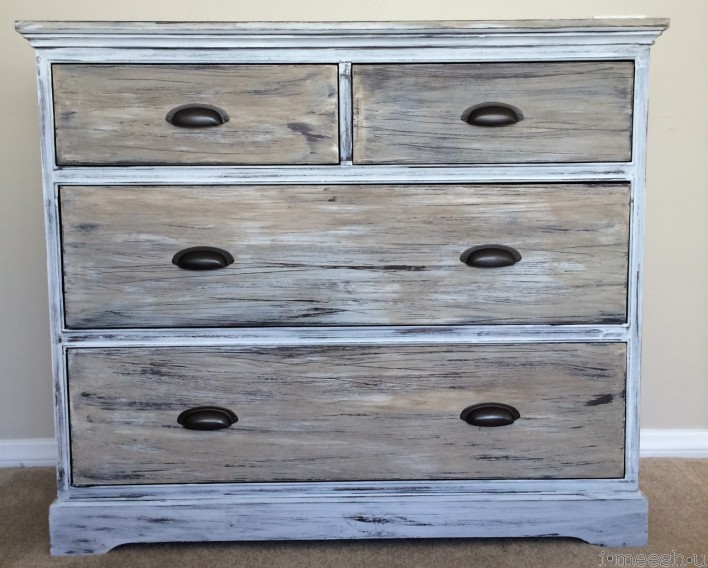
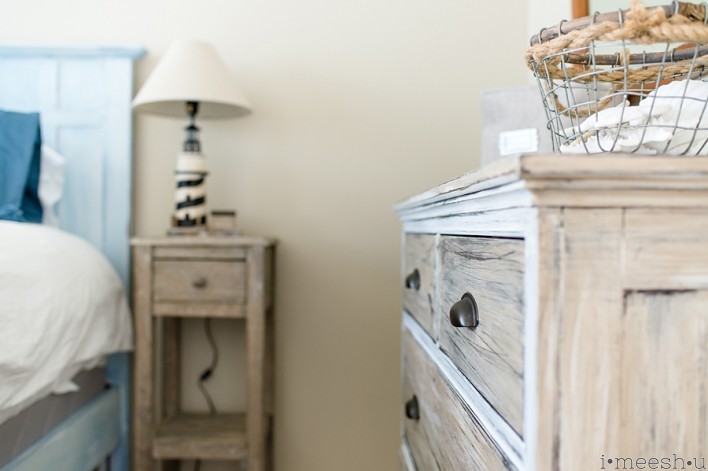
then to finalize the piece, i used a coat of clear wax all over and put the drawer pulls back on. and voila!
a beachy dresser for a beachy house.
i ordered these shells at shellshorizon.com. not a fancy website, but definitely great and affordable products! and you know these are real b/c when you open the box…WHEW, it smells like stinky seaweed. so let your shells sit out in the sun for a few days to air out!
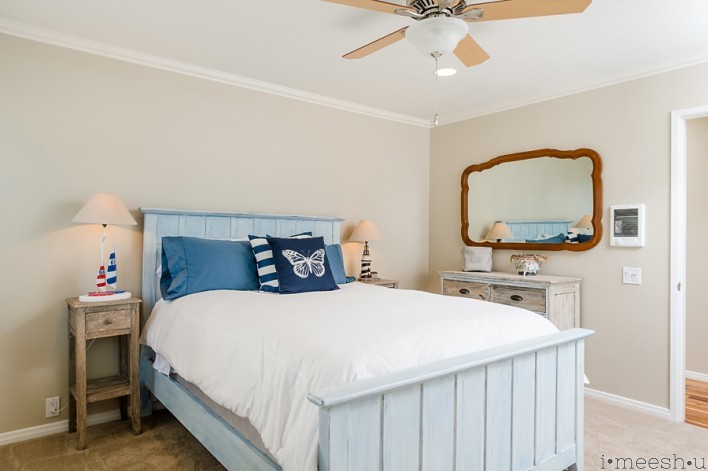
here’s the entire room all put together. i’ve still got to paint that mirror. here are some pix of the entire house.
thanks to my good buddy Jimmy Cheng, for the gorgeous pix he took of the house. if you’re looking for an awesome event or real estate photographer in Southern California, he’s your guy!
linked to:
Sunday: It’s So Very Cheri
Sunday: Under the Table and Dreaming
Sunday: Craft-o-Maniac
Sunday: Three Mango Seeds
Sunday: Finding Silver Pennies
Monday: The Girl Creative
Monday: Boogieboard Cottage
Monday: Our Delightful Home
Monday: CRAFT
Monday: Coastal Charm
Tuesday: Homes to Stories A to Z
Tuesday: Cedarhill Ranch
Tuesday: Elizabeth and Co
Tuesday: Dometsically Speaking
Tuesday: Today’s Creative Blog
Wednesday: Savvy Southern Style
Wednesday: Handy Man Crafty Woman
Giveaway Thursday: Someday Crafts
Thursday: The Brambleberry Cottage
Thursday: The Charm of Home
Thursday: From My Front Porch to Yours
Friday: Miss Mustard Seed
Friday: Fridays Unfolded
Friday: Shabby Nest
Friday: Romantic Home
Friday: Redoux Interiors


It makes a great addition to the bedroom!
Thanks, Sherry! The client has been very happy with how the beachy cottage has turned out. 🙂
What a great idea and so easy! Thank you so much for sharing at Redouxinteriors and the Handmade hangout. Featuring tomorrow!
Thanks, Karen! So honored! 🙂
What color/brand of wax did you use??
I typically use clear Annie Sloan wax. BUT, I’ve also used Gilbertson’s Chalk Paint Clear Liqwax, which is much easier to apply and not stinky at all. But I do love both waxes. Just change up what I use for different applications. 🙂 http://funiturepaint.com/products
Sorry but I cut corners and have been using car wax and shoe polish in place of that over priced chalk wax. I also make my own chalk paint with store bought latex satin and plaster of paris or sodium bicarbonate and water. 🙂
I’ve had mixed results with the plaster of paris…and I don’t like breathing in all that dust. Definitely not good for the lungs! Glad it’s working for you, though!
Hi
I was wondering, since I’m budgeted and I’m trying to use what I have, have you ever used a gray min wax stain over white chalk paint to try and achieve the same look? I have the minwax and valspar white chalky paint and clear wax…. Think it could be done?
Will this work on furniture that isn’t black or dark? Just an unsightly oak-ish color? Or should it be painted dark color first then white to have the white color come through when sanding?
Dealing effortlessly these potential nnatural
disasters means that an equipment transport company should be prepared.
Want to taste the top dishes in a good restaurant, and then you must always makee sure to go for Omaha restaurants that have got delicious dishes.
For more details, you can visit the website – Arjinfusion.
Just wanted to say hi..from one meesH to another!!!!!! 😆 Hoping my finished product turns out as awesome as yours!
☆meesH.dA.beesH☆
🙂
Ok — hubby and I are looking to do the same thing to our bedroom furniture (yes early 2000 dark, dark, dark pieces!) I have some questions for you regarding the techniques mentioned above. Our starter furniture is a moderately priced vaneer with a glossy finish — not solid wood pieces. 1) I’m curious was your piece a matte or glossy finish? I’m concerned that a present glossy finish will not hold? (I’ve never used chalk paint), and 2) I watched another tutorial on applying dark wax on furniture — and they said that dark wax is designed to be used with clear wax, and clear wax should always be first? (She cited reasons such as keep it from getting too blotchy or ability to fix mistakes made with dark wax). But you mention only clear on top. I’ve never done anything like this before so I’m just checking. Thanks very much!
Hi and thanks for writing! Chalk paint will work over matte and glossy finishes.
The reason you’d want to use clear wax first is that the chalk paint is very porous and will suck in the dark wax v quickly. By using a coat of clear first, you allow yourself a bit more margin for error if you use too much dark; you can buff it out more easily.
I actually prefer using Funiture Paint’s tinted wax, which is more liquid and easier to use. I find the Annie Sloan wax tricky for beginners as it can be too thick and challenging to blend.
Good luck and please keep me posted!!
—
949-885-6108