i’m back. good grief…i’ve neglected my blog. boooooo…..
but….
my boys are all on a camping trip and man have i taken the opportunity to do a bunch of projects around the house.
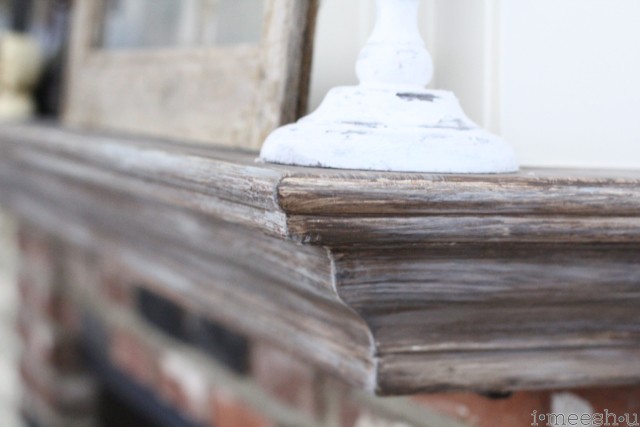
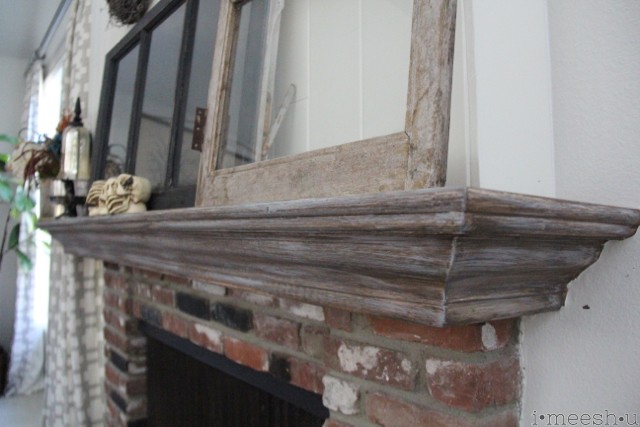
i decorated our living room for halloween. stay tuned for that post as i’ll detail how i painted the mantle to look weathered.
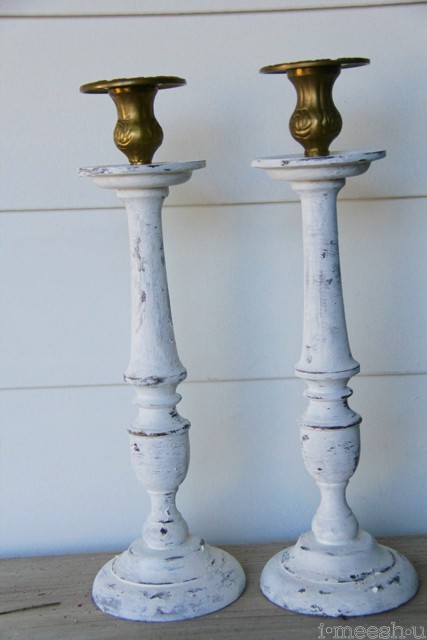
meanwhile, i used the ole Elmer’s Wood Glue technique to paint some old candlesticks to have a shabby chic look.
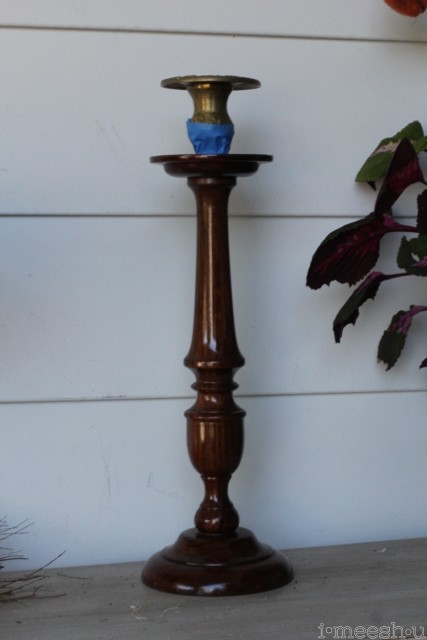
here’s how one looked before painting it. you know the look. dark, shiny wood. cool brass topper, though.
you start with a thick coat of chalk paint. i painted this with Annie Sloan Pure White. let it dry.
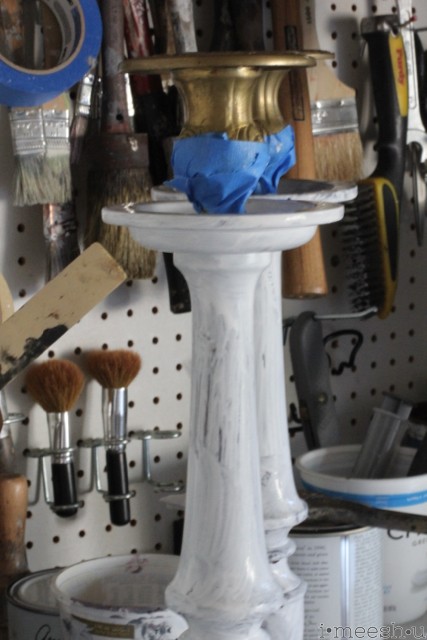
then get our your wood glue. i used Elmer’s for this project b/c it happened to be within reach. 🙂
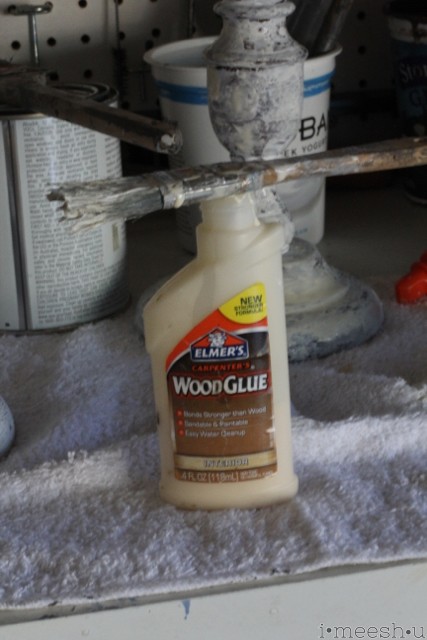
using an old brush, i slapped on a thick layer of glue.
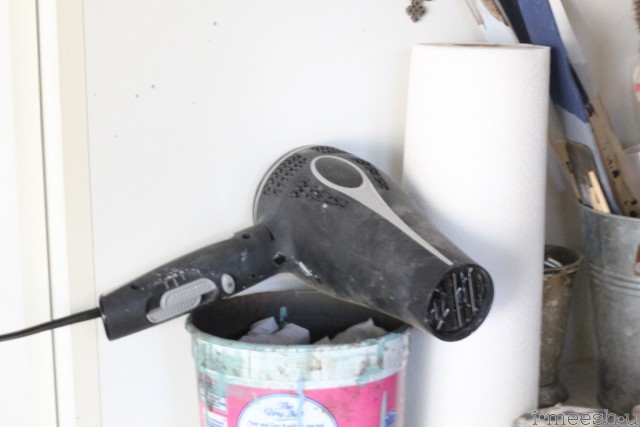
then i got out old trusty hair dryer and dried the glue. don’t worry, this isn’t the one i use on my own hair…it’s for my painting project! 🙂
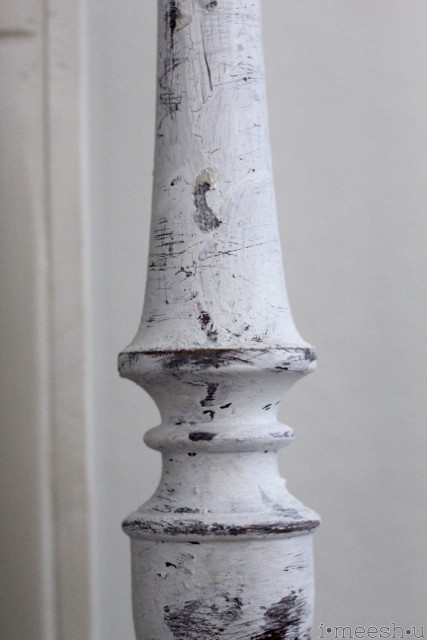
after drying the glue, i painted more thick chalk paint on the glue, then dried again. what happens here is like magic….as the paint dries, it shrivels with the glue on the layer below it, causing the crackle effect.
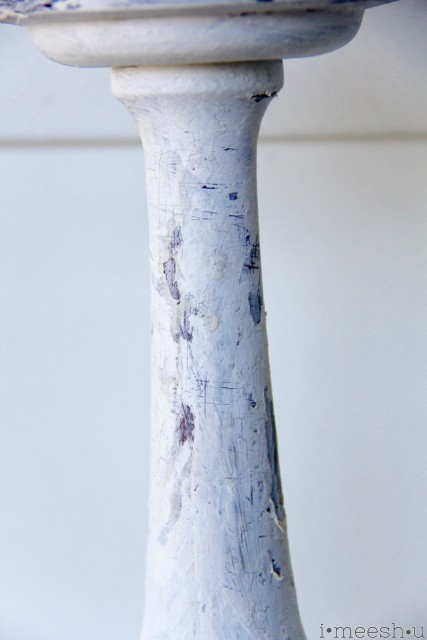
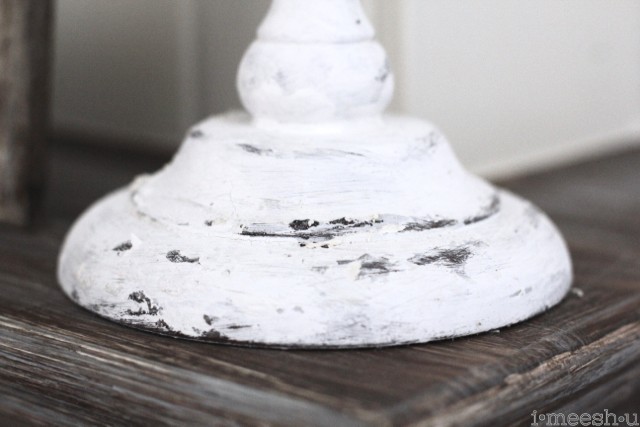
while the top coat was still somewhat tacky, i used a very coarse sandpaper to scuff the paint to reveal the wood and create a distressed look.
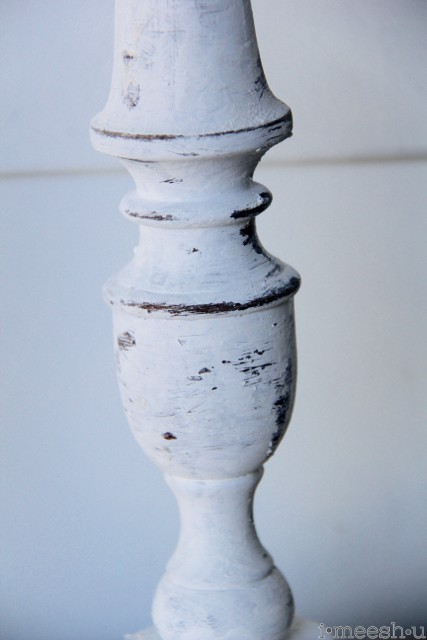
you always want to hit the high touch points of whatever piece you’re sanding. image where hands would touch the piece, and where it would be nicked if it fell over.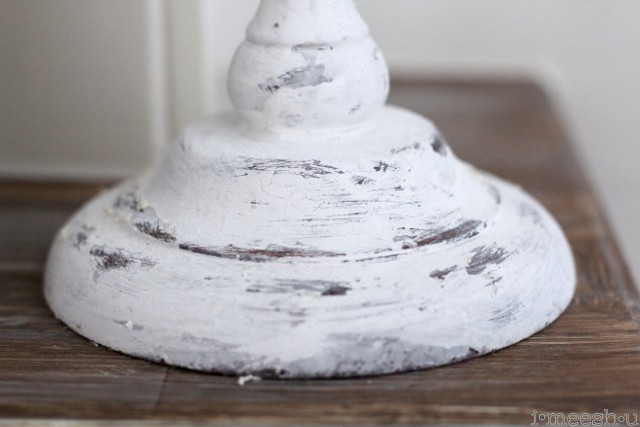
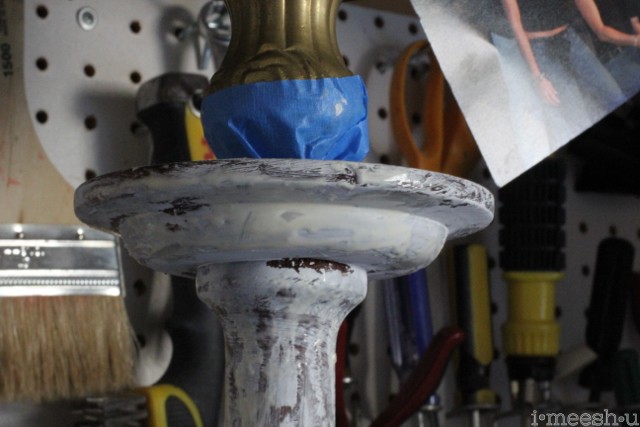
notice in the shot below that the glue clumps up and even rolls in spots. this helps with the chippy look. let this dry thoroughly (i used the hairdryer again) and then add another coat of paint.
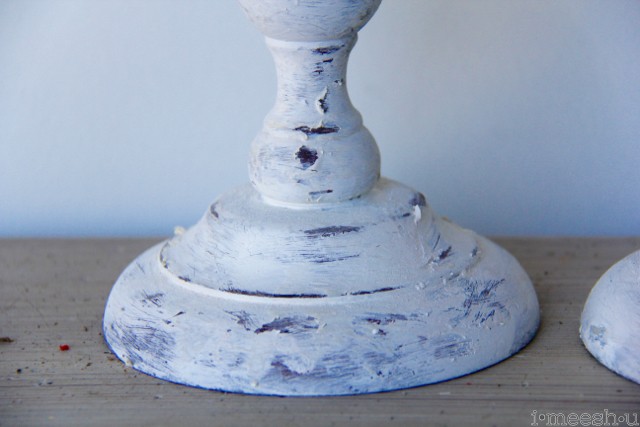
this will help the paint be thicker in some areas and have a more chipped look.
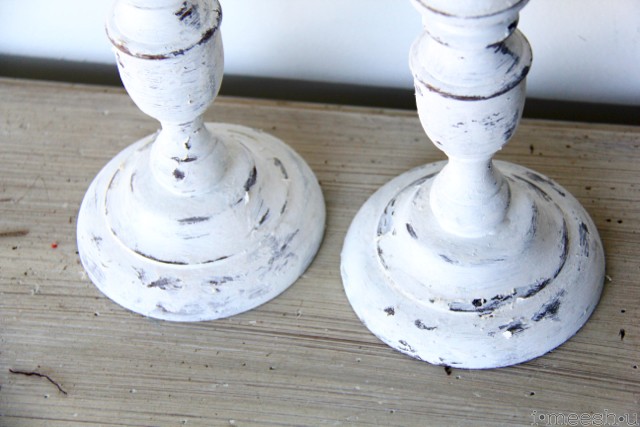
note the fireplace mantle in this shot? just earlier today, that was a glossy white fireplace mantle. stay tuned for a description of how i achieved this weathered wood look with low voc chalk paints!