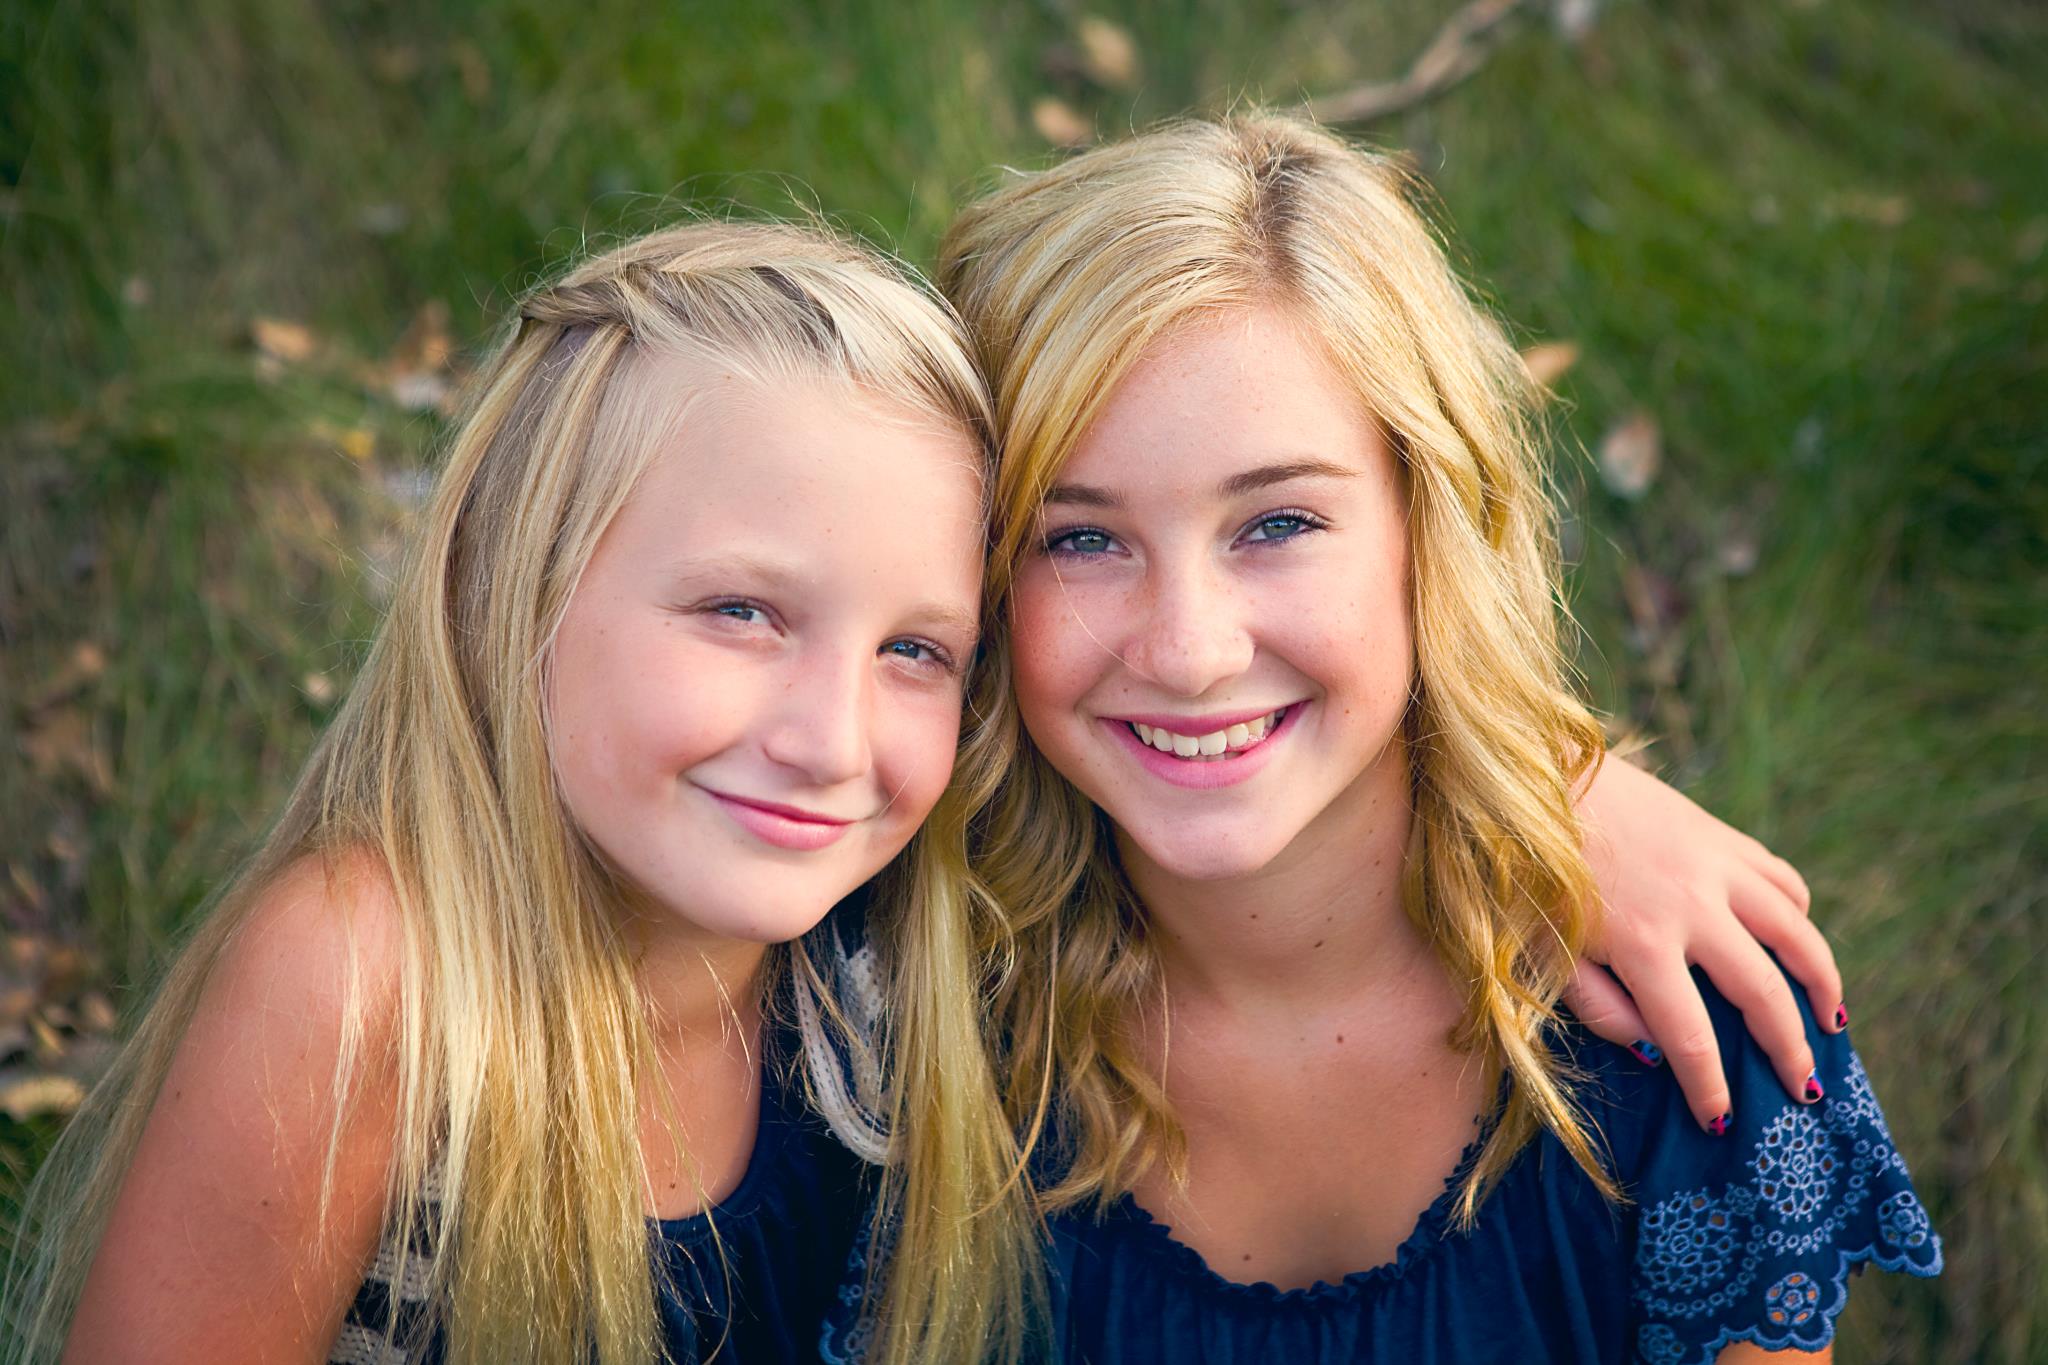
my friends just moved back from Panama after a 6 month missionary trip with their entire family. they’re the most precious girls you’ve ever met.
and sadly for me, at ages 10 and 13, they’re both already taller than i am.
how cute are these girls?
so i set out to make them some shutter headboards to match their beachy, super chic personalities.
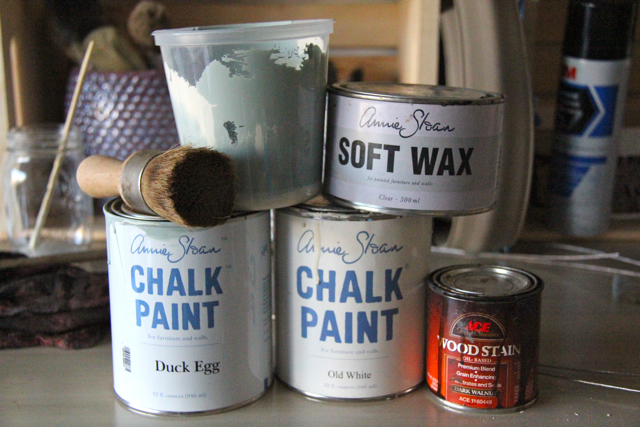
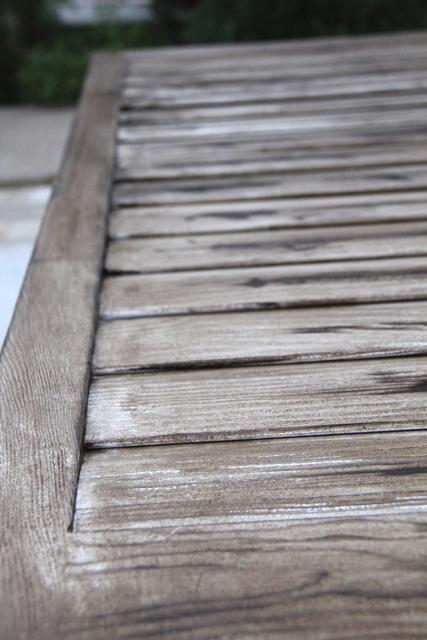
2 craigslist white shutters that i painted out with Annie Sloan Chalk Paint.

i didn’t want both to match perfectly, but since they’ll be in the same room, i wanted them to match enough.
i sanded the first shutter with a belt sander. it was the first time using the sander and it nearly took off down the driveway without me! thankfully i had my goggles and mask on!
i wanted this headboard to be a bit darker with rich layers poking through.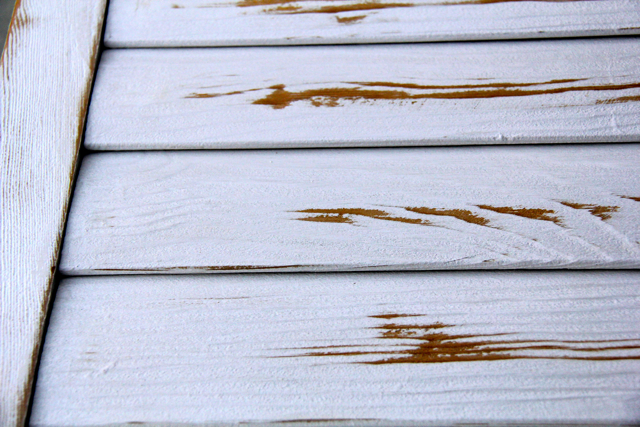
then, using a cheapo 1″ sponge brush, i applied some dark wood stain and wiped off. since there was still a bit of sheen left from the original shutter paint that the sander didn’t remove, there were spots where the stain didn’t take. perfect.
you can see the very dark spots where the sander took the shutters all the way down to the original wood. the wood stain sticks much better to the raw wood.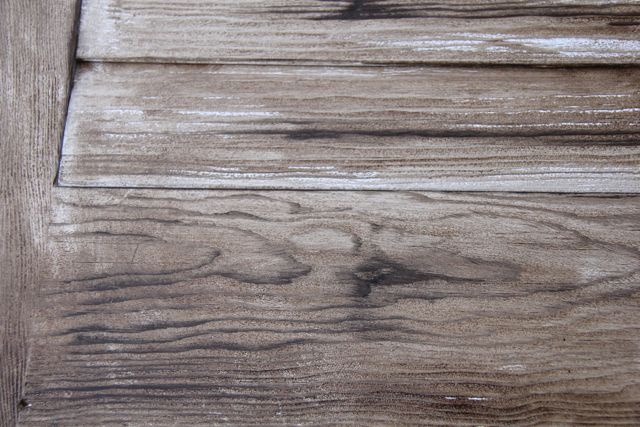
then i dry brushed with a dark blue flat wall paint that i had left over from an old project. again, i did this because i wanted to achieve a rich, layered look.

if you’re going for a barn look, this actually is a pretty cool look. but my pals wanted a shabby chic look, and i felt this was too hard of a look for these pretty girls.
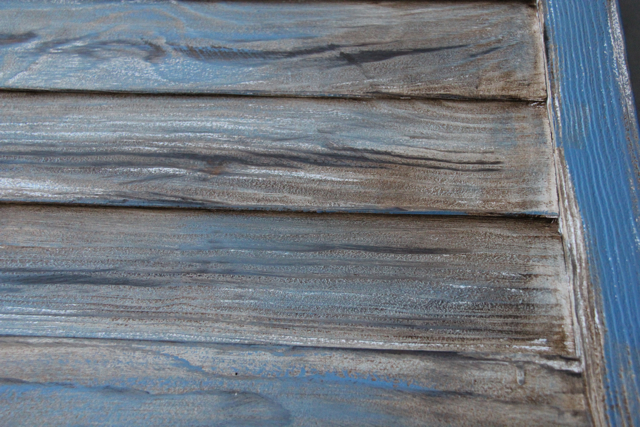
you can see where the stain and paint are creating the warm and deep layers that i was hoping to get!


my inspiration :: a gorgeous redo by Fifiblog
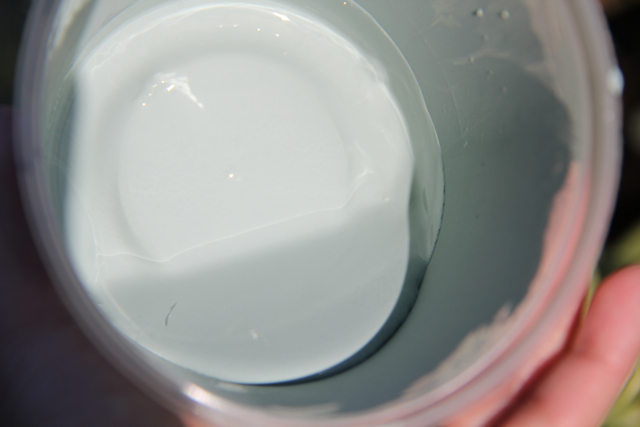
here’s the Duck Egg wash. 1 part Antique White, 2 parts Duck Egg, 1 part water. i also made a 1 part Antique White + 1 part water wash.
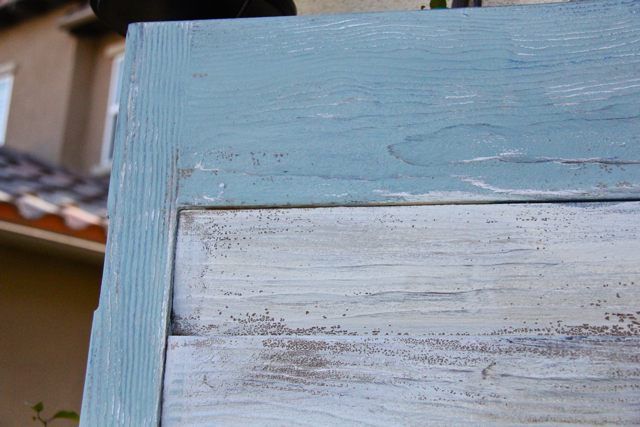
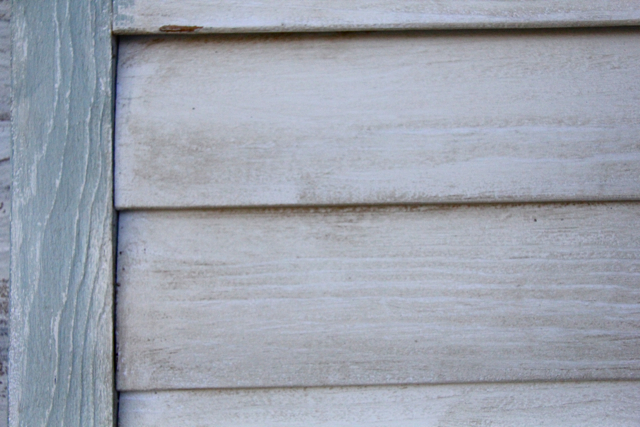
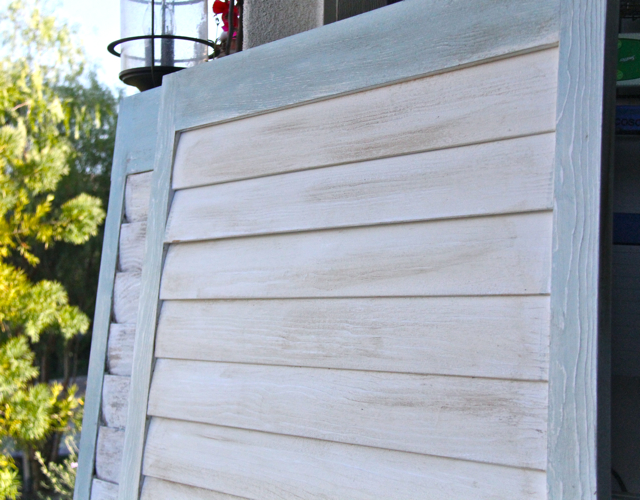
i liberally brushed the Duck Egg wash on the shutter frame, and used an Antique White wash on the shutters.
then i generously brushed, then rubbed in clear wax and let it dry. then lightly brushed a mixture of 1/2 clear and 1/2 dark wax, then wiped off quickly. 
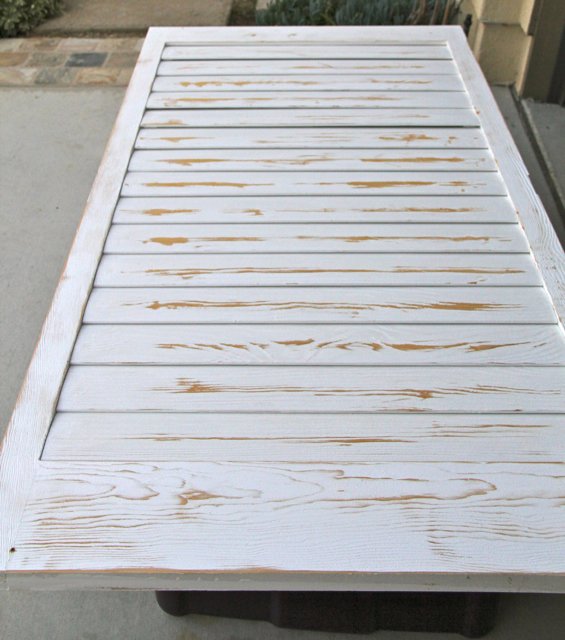
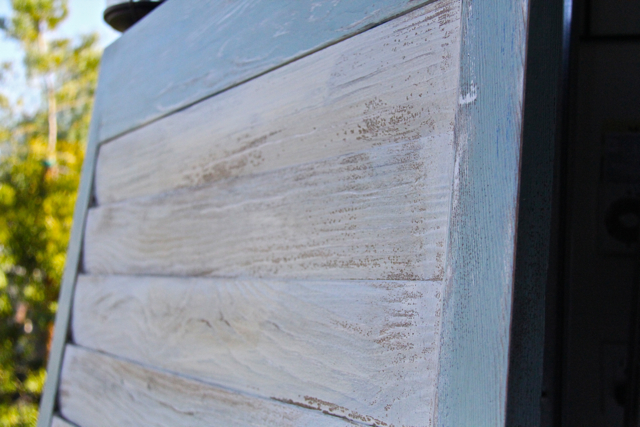
for the second shutter, i skipped the sanding, wood stain, and dark blue dry brushing. i wanted this piece to be lighter and softer, while still having the same color schemes.
i was interested to see if the layering technique made a big difference.
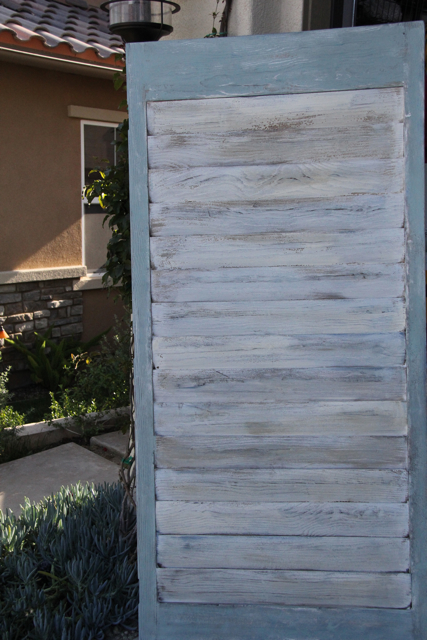
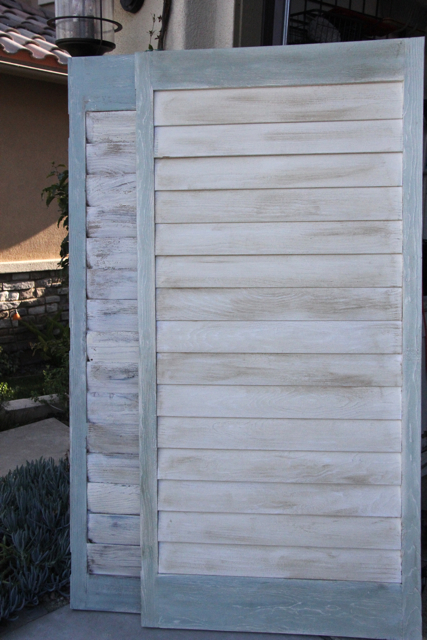
and i think it did. the colors are definitely in the same family, but the looks are different enough to not be too matchy-matchy.

the front shutter in the picture is softer, while the back shutter is more layered.
i can’t wait to show these to the girls and see it in their rooms.
have a great week!

linking up to:


ok this is amazing and so beach and unique, with all the moisture by the sea this works well. Gorgeous…
thanks, Bootsie! 🙂 i can’t wait to see these in the girls’ room!
The shutters are gorgeous, just like the girls!
Thanks! I hope they like the headboards for their new digs!!
Hi – what a gorgeous job – love it. I have some shutters that I need to do something with, so you have inspired me. I once used these antique shutters as a possible cornice in my dining room. It didn’t look right at all. And my husband spent a lot of time fashioning them out. Wish I had a picture of it but I don’t! It was too hideous and a great learning experience.
I would up using two of them in a commercial project in a Cuban restaurant. I did a trompe l’oeil window in the lobby of this restaurant and we used the shutters on either side. Came out nice – when you see the pic you think the shutters are fake also – but they aren’t! You can see what I did if you go to my decorative painting website – http://www.studioofdecorativearts.com. And click on Galley – then Commerical.
Thanks for your inspiration – love what you did!
Linda
thanks, Linda. i’ll definitely check out your site!
These turned out great! You did a wonderful job! 🙂
Have a great week!
~Liz