i’ll always have fond memories of Ikea. i used to bring my kids there when they had trouble sleeping….
it always went something like this: “they’ll fall asleep in the stroller while i shop.”
yup, i’m THAT mom with stuff stacked in the stroller, balanced on the kids’ heads, crammed into the small storage bin below the double BOB (why is it so small — must have been designed by a dude!)….all while the kids are squirming to get out to crawl through the fun tunnels….naptime fail!
so now i go alone.
and i’m always the idiot who thinks “oh, i don’t need a cart.”
then i end up with one of those yellow bags cutting into my shoulders b/c it’s loaded down with 50 lbs of stuff i didn’t know i needed.

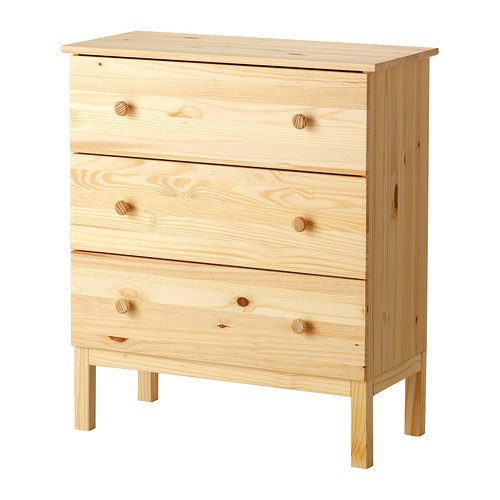
on my last Ikea outing, i intentionally went to buy a Tarva dresser.
so i did.
along with 49 lbs of other stuff squished into a yellow bag.
and this is what i did with it.

i started by painting the dresser’s body and legs with Annie Sloan Chalk Paint’s Duck Egg.
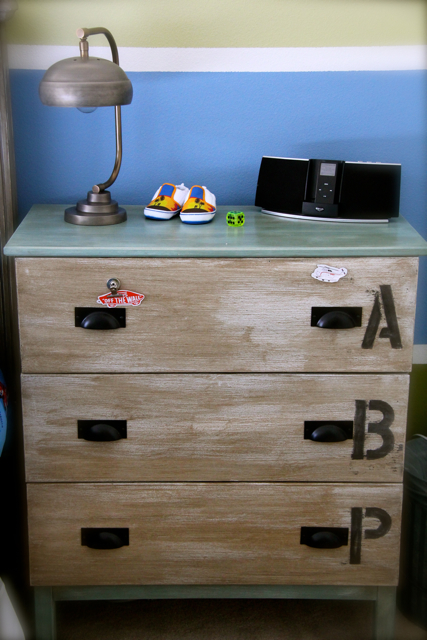
for the drawer fronts, i painted three coats of Rustoleum Magnetic Paint, letting each coat sit for 30 minutes between coats, per the instructions.

after the magnetic paint dried, i painted Annie Sloan Pure White over it, not being too worried if i didn’t get full coverage as i knew i’d be distressing it with wax.
i noticed the chalk paint was still very tacky after an hour, so decided to apply the stencils and wipe away the white paint to reveal the black magnetic paint.
pretty cool industrial look, i think!
i waited overnight before sanding applying the Annie Sloan Dark Wax.

for the top and sides of the dresser, i dry brushed some ASCP Pure White and Aubusson Blue before sanding lightly with 220 grit paper. i find that dry brushing additional colors gives more texture and depth to the furniture.

then i applied a mixture of clear and dark wax…which Debbie from Peinture calls medium wax.
i picked up some dark bronze bin pulls to round out the industrial look.
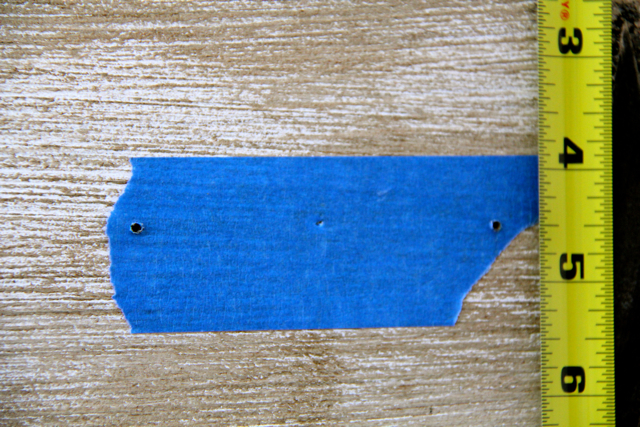

i applied 3M painters tape where the original Ikea drawer pull hole was. then carefully measured 4.5 inches down from the drawer top to ensure the hardware was level. i placed the hardware over the tape and marked where the holes should go. pre-drilled some holes, then screwed in the hardware. worked very well and easily.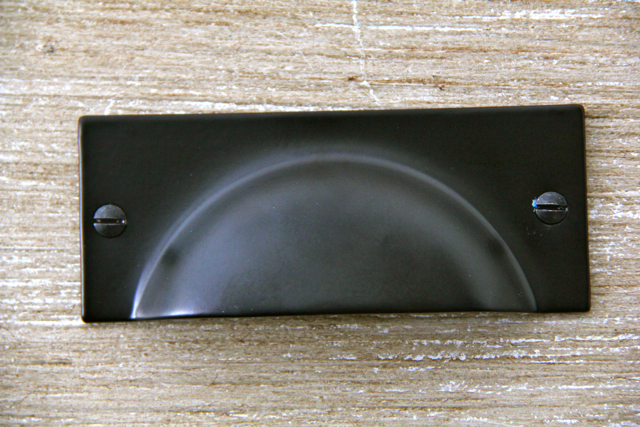
the paint here gives an optical illusion that makes the hardware look crooked. made me a little nuts so i measured several more times to make sure i wasn’t nuts. i’m still nuts, but the hardware is level!
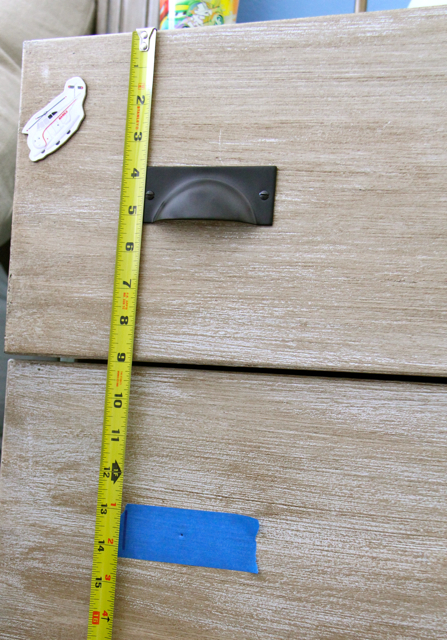
then i lined up the tape measure and drew a line down the left side of each drawer front to make sure they’ll all line up vertically.


the drawer fronts are magnetic, perfect for a toddler boy and all of his magnets like Harold the Helicopter from Thomas and Friends.

have a great weekend!

linked to:


That turned out great! I love the idea of magnetic paint on a kid’s dresser…might make the temptation to put stickers all over it easier to resist 😉
Exactly! I used three coats per the instructions and the magnetic strength is mediocre. Next time, I’d use 4 coats! Good luck and lemme know how it turns out!
Did you have to sand that furniture first? Or was it already ready to paint?
Also, when I looked at that dresser at Ikea online, it says you have to fasten it to the wall. Have you found that its unstable without being fastened? Thank you!
That’s the beauty of Annie Sloan Chalk Paint. You don’t have to sand or prime or anything. You just paint! Yes, we always fasten all of our furniture to the walls with earthquake straps that can be bought at Lowe’s or Home Depot. We live in earthquake territory!