i’ve been making duvets forever. ever since the hand sewing days. ouch!
they’re super easy to make, and they can change the look of your room so easily. and there’s just something about snuggling down in a super soft, luxurious, personalized duvet under a soft snuggly down comforter.
i prefer cotton. you can wash it and toss it in the dryer with a bounce. oooh….how i love the smell of fresh clothes out of the dryer with a bounce sheet. yum.
we’re about to put Big A into a queen sized bed so that we can all snuggle down together and read books.
we’ve outgrown the glider…trying to squeeze in with the books, stuffed animals, and sometimes two kids…
not happening…
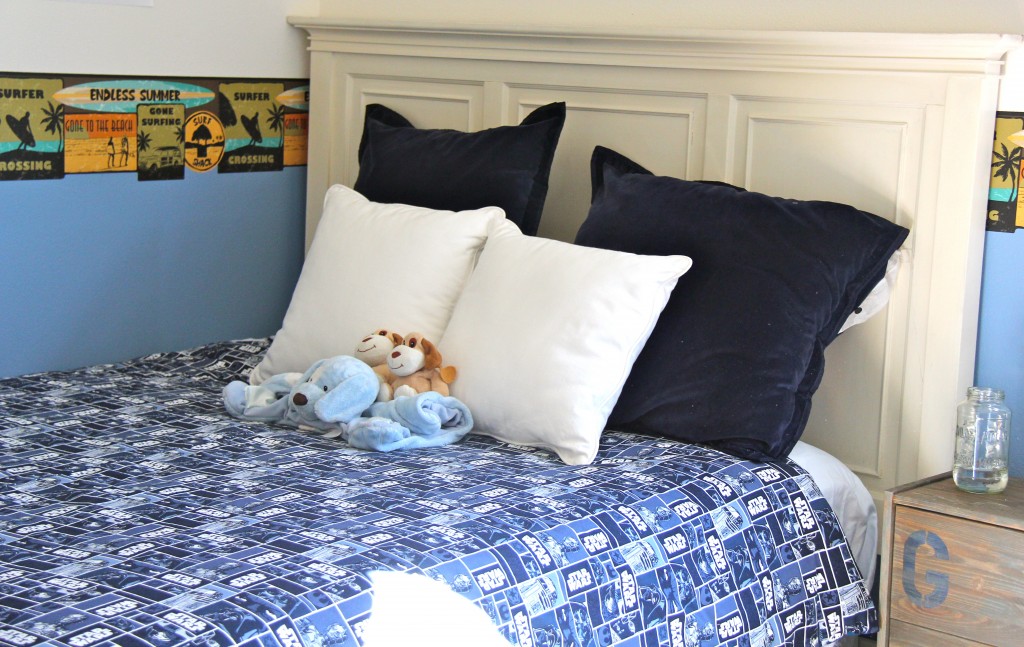
the new bed, which i refinished with a Restoration Hardware wood finish is going to be so super fantastic.
awaiting the new mattress from Costco (yes, they honored the $120 coupon even though i bought it a day prior to the coupon arriving in the mail!), then will put the awesome new Lightning McQueen/Thomas the Tank duvet on it for Big A.
ok, here’s how to make the duvet!
dimensions are for a queen sized bed:
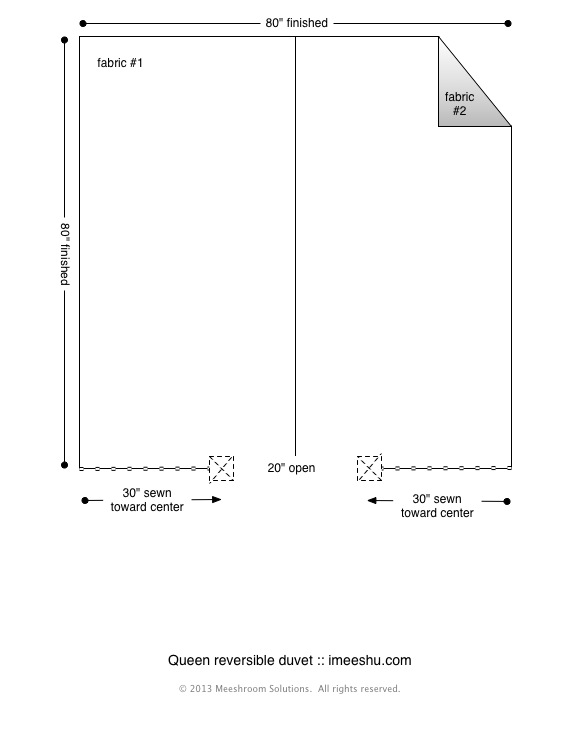
- a queen down comforter is typically 90″ x 90″ square. i aim to make the duvet 80″ x 80″ so that the comforter isn’t swimming around in the duvet. there’s something to be said about a fluffier experience!
- 5.5 yards of your favorite 45″ wide cotton fabric. if you want the fabric’s design to align, you’ll have to adjust the amount of yardage to accommodate for the matching. in our case, we’re just talking about spider-man, star wars, thomas the tank, and lightning mcqueen….so the patterns aren’t noticeable enough to make a difference to an almost 2 year old and 4.5 year old. 🙂
- wash the fabric. throw in a bounce….or 3.
- remove while still damp
- fold one of your fabrics in half at the 2.25 yard mark, and cut so that you have two equally sized pieces. each piece will be approx 45″ x 81″
- iron out all the wrinkles! ain’t nothin’ worse than a wrinkly duvet!
- align the two pieces right sides together
- sew down the middle leaving a generous 1″ seam. keep in mind that your fabric is 45″ wide, and we’re aiming to get this down to 80″ wide once completed, so be generous with your vertical seams. this completed piece will serve as one side of your duvet.
- repeat this step for the other fabric for your duvet
- place both sewn sides of your duvet together and cut so that both pieces match in length. i generally fold each fabric lengthwise to save some space while i’m sewing.
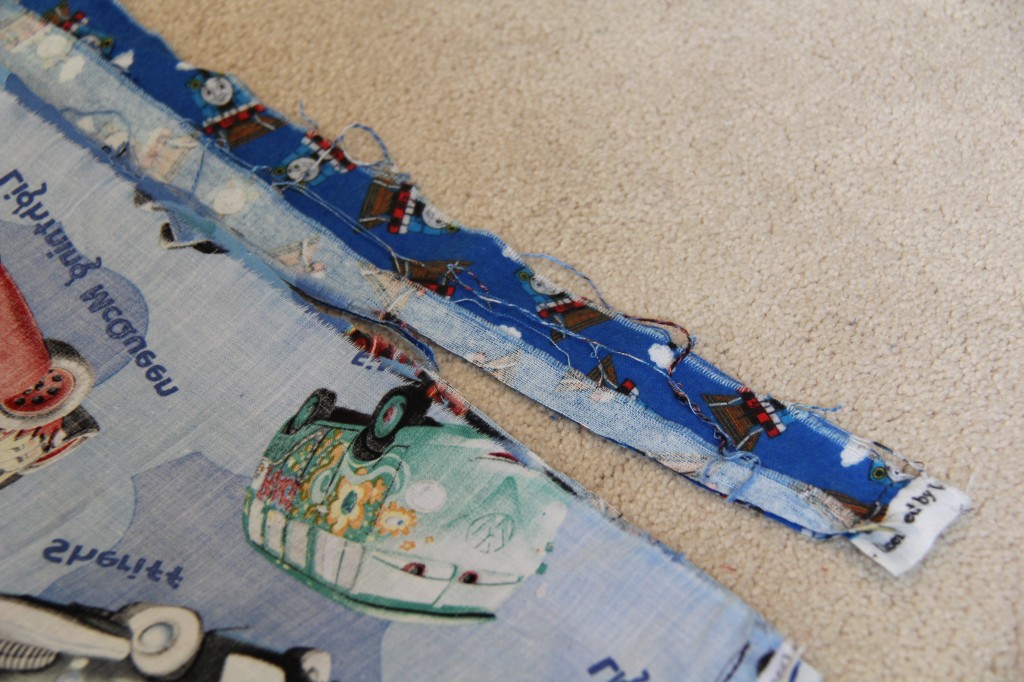
- iron a 1/4″ to 1/2″ double fold at the bottom of one of the sides. check out this adorable young woman’s YouTube demonstrating a double fold! repeat for the other fabric piece of your duvet.
- align both sewn duvet pieces right side together and sew across the top of the duvet. you always want to start at the top as this is the most visible portion of your duvet when it’s on the bed
- then sew down one side
- then sew down the third side, leaving the bottom open
- my general rule of thumb is to leave a 20″ opening at the bottom of the duvet to get the comforter in an out. this means that you can sew 30″ in from each side toward the center of the bottom opening.
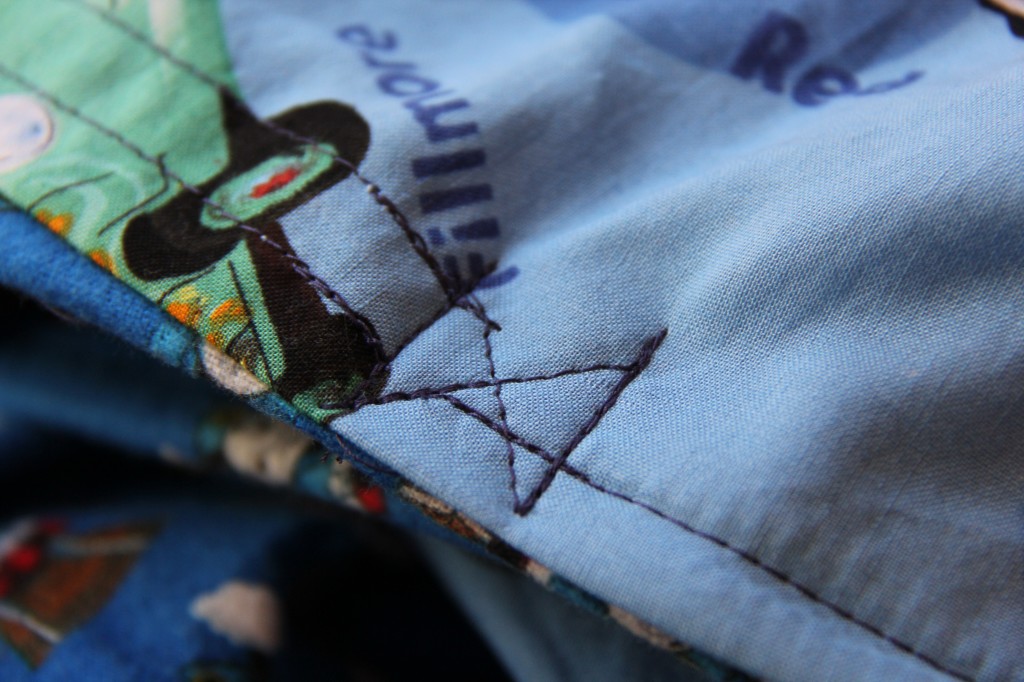
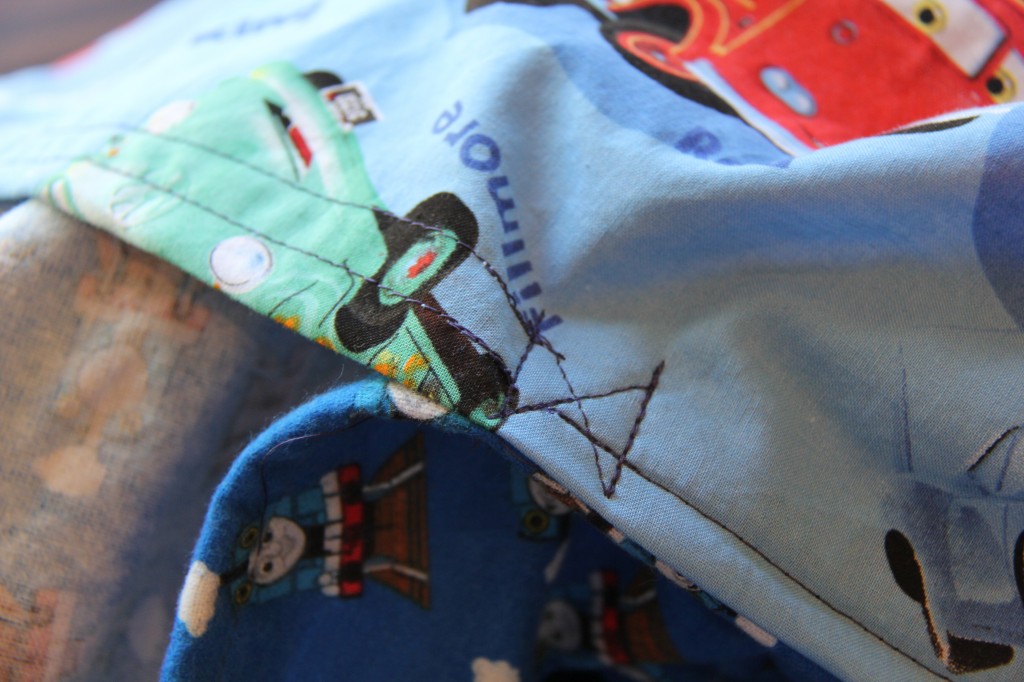
- because the opening gets a lot of wear and tear due to putting the comforter in and out of the duvet, i prefer to use a double stitch along the bottom and an extra enforced box with and X
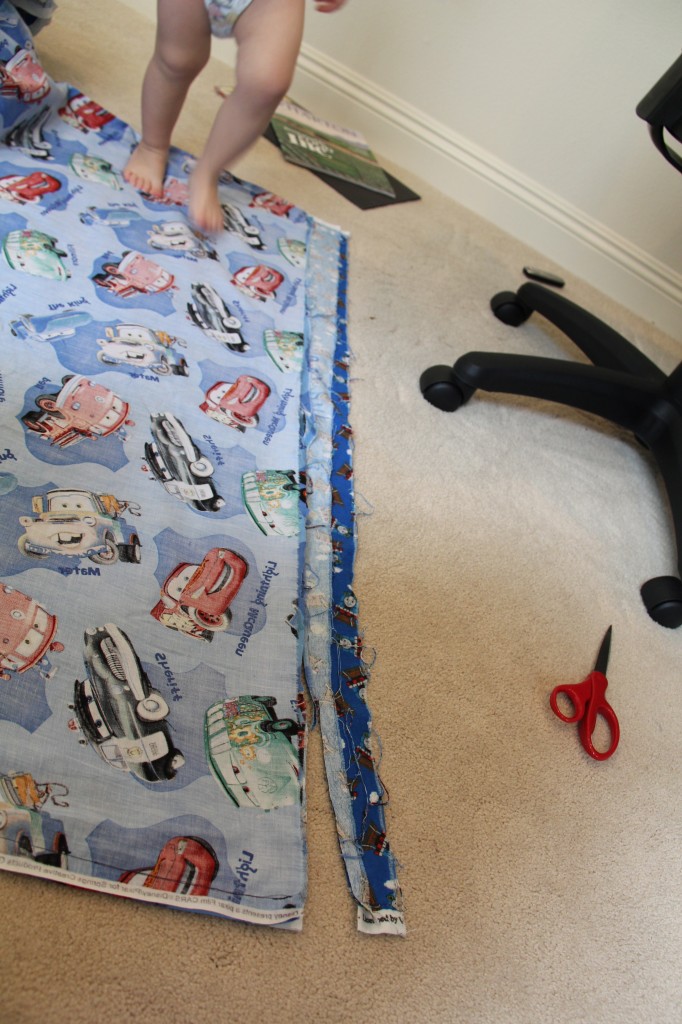
- now, you’ll notice that the hem of the opened portion of the duvet still needs to be sewn to avoid frays. sew hems on each of the fabrics. depending on the fabric design, you may choose to do a single or double hem. go nuts! i prefer to have two stitched lines sometimes. why not?
- snip all loose threads
- put the comforter in
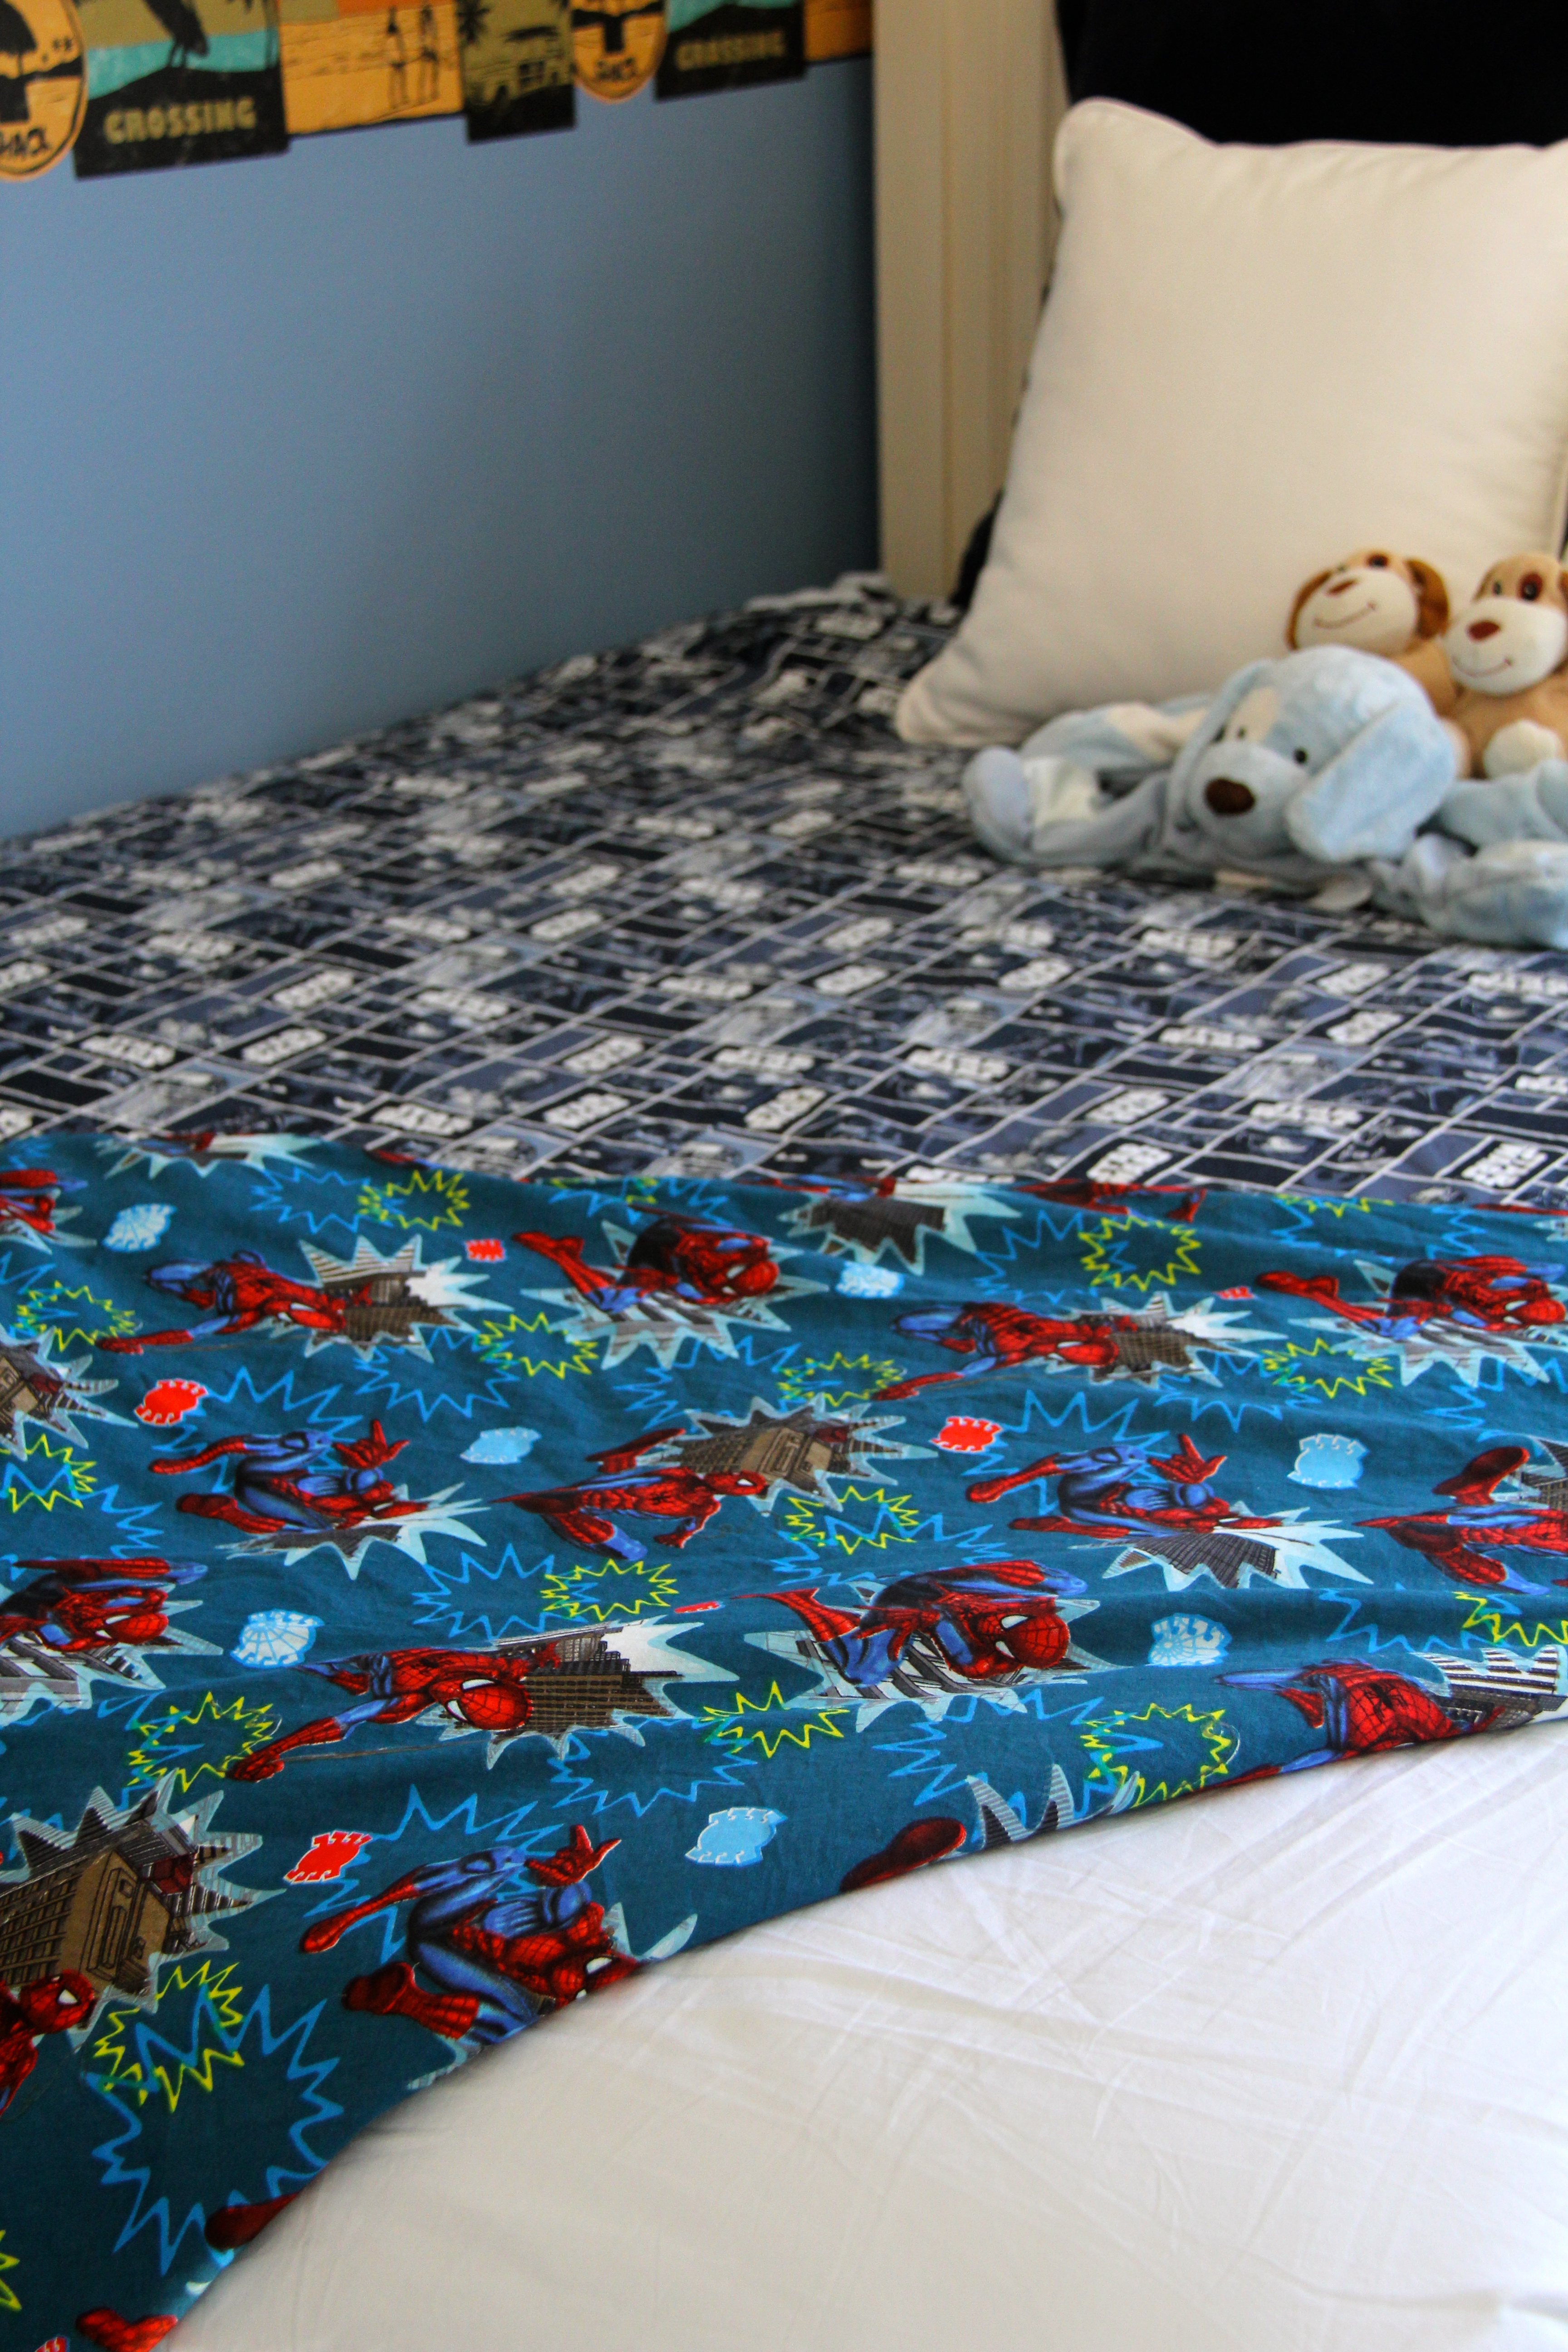
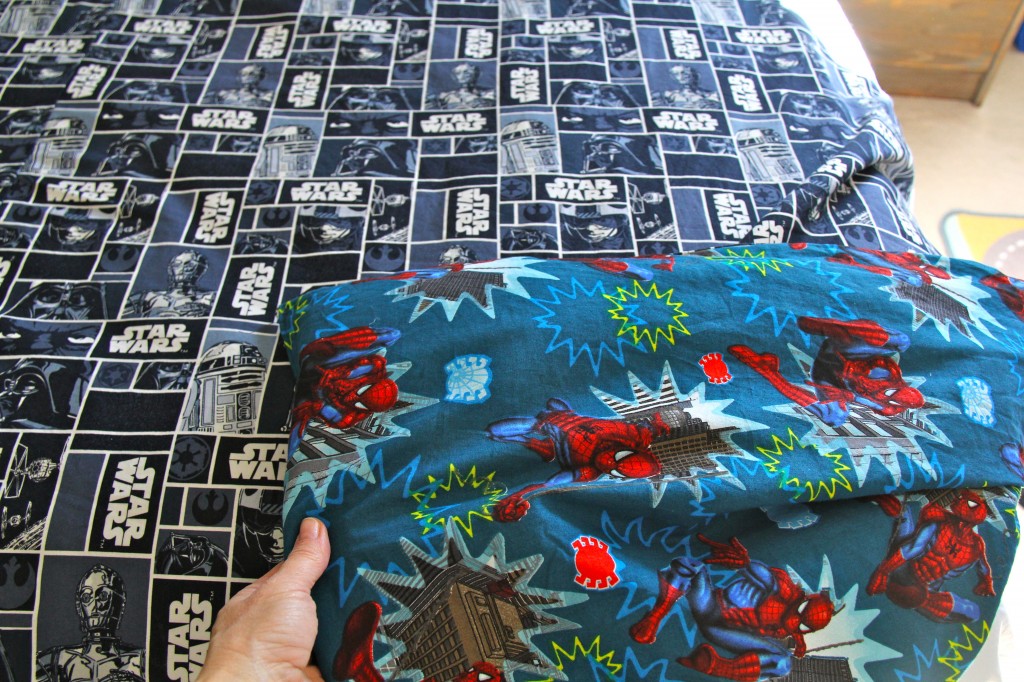
- watch your kids love on their new reversible duvet…hopefully they take longer naps and sleep in each morning!
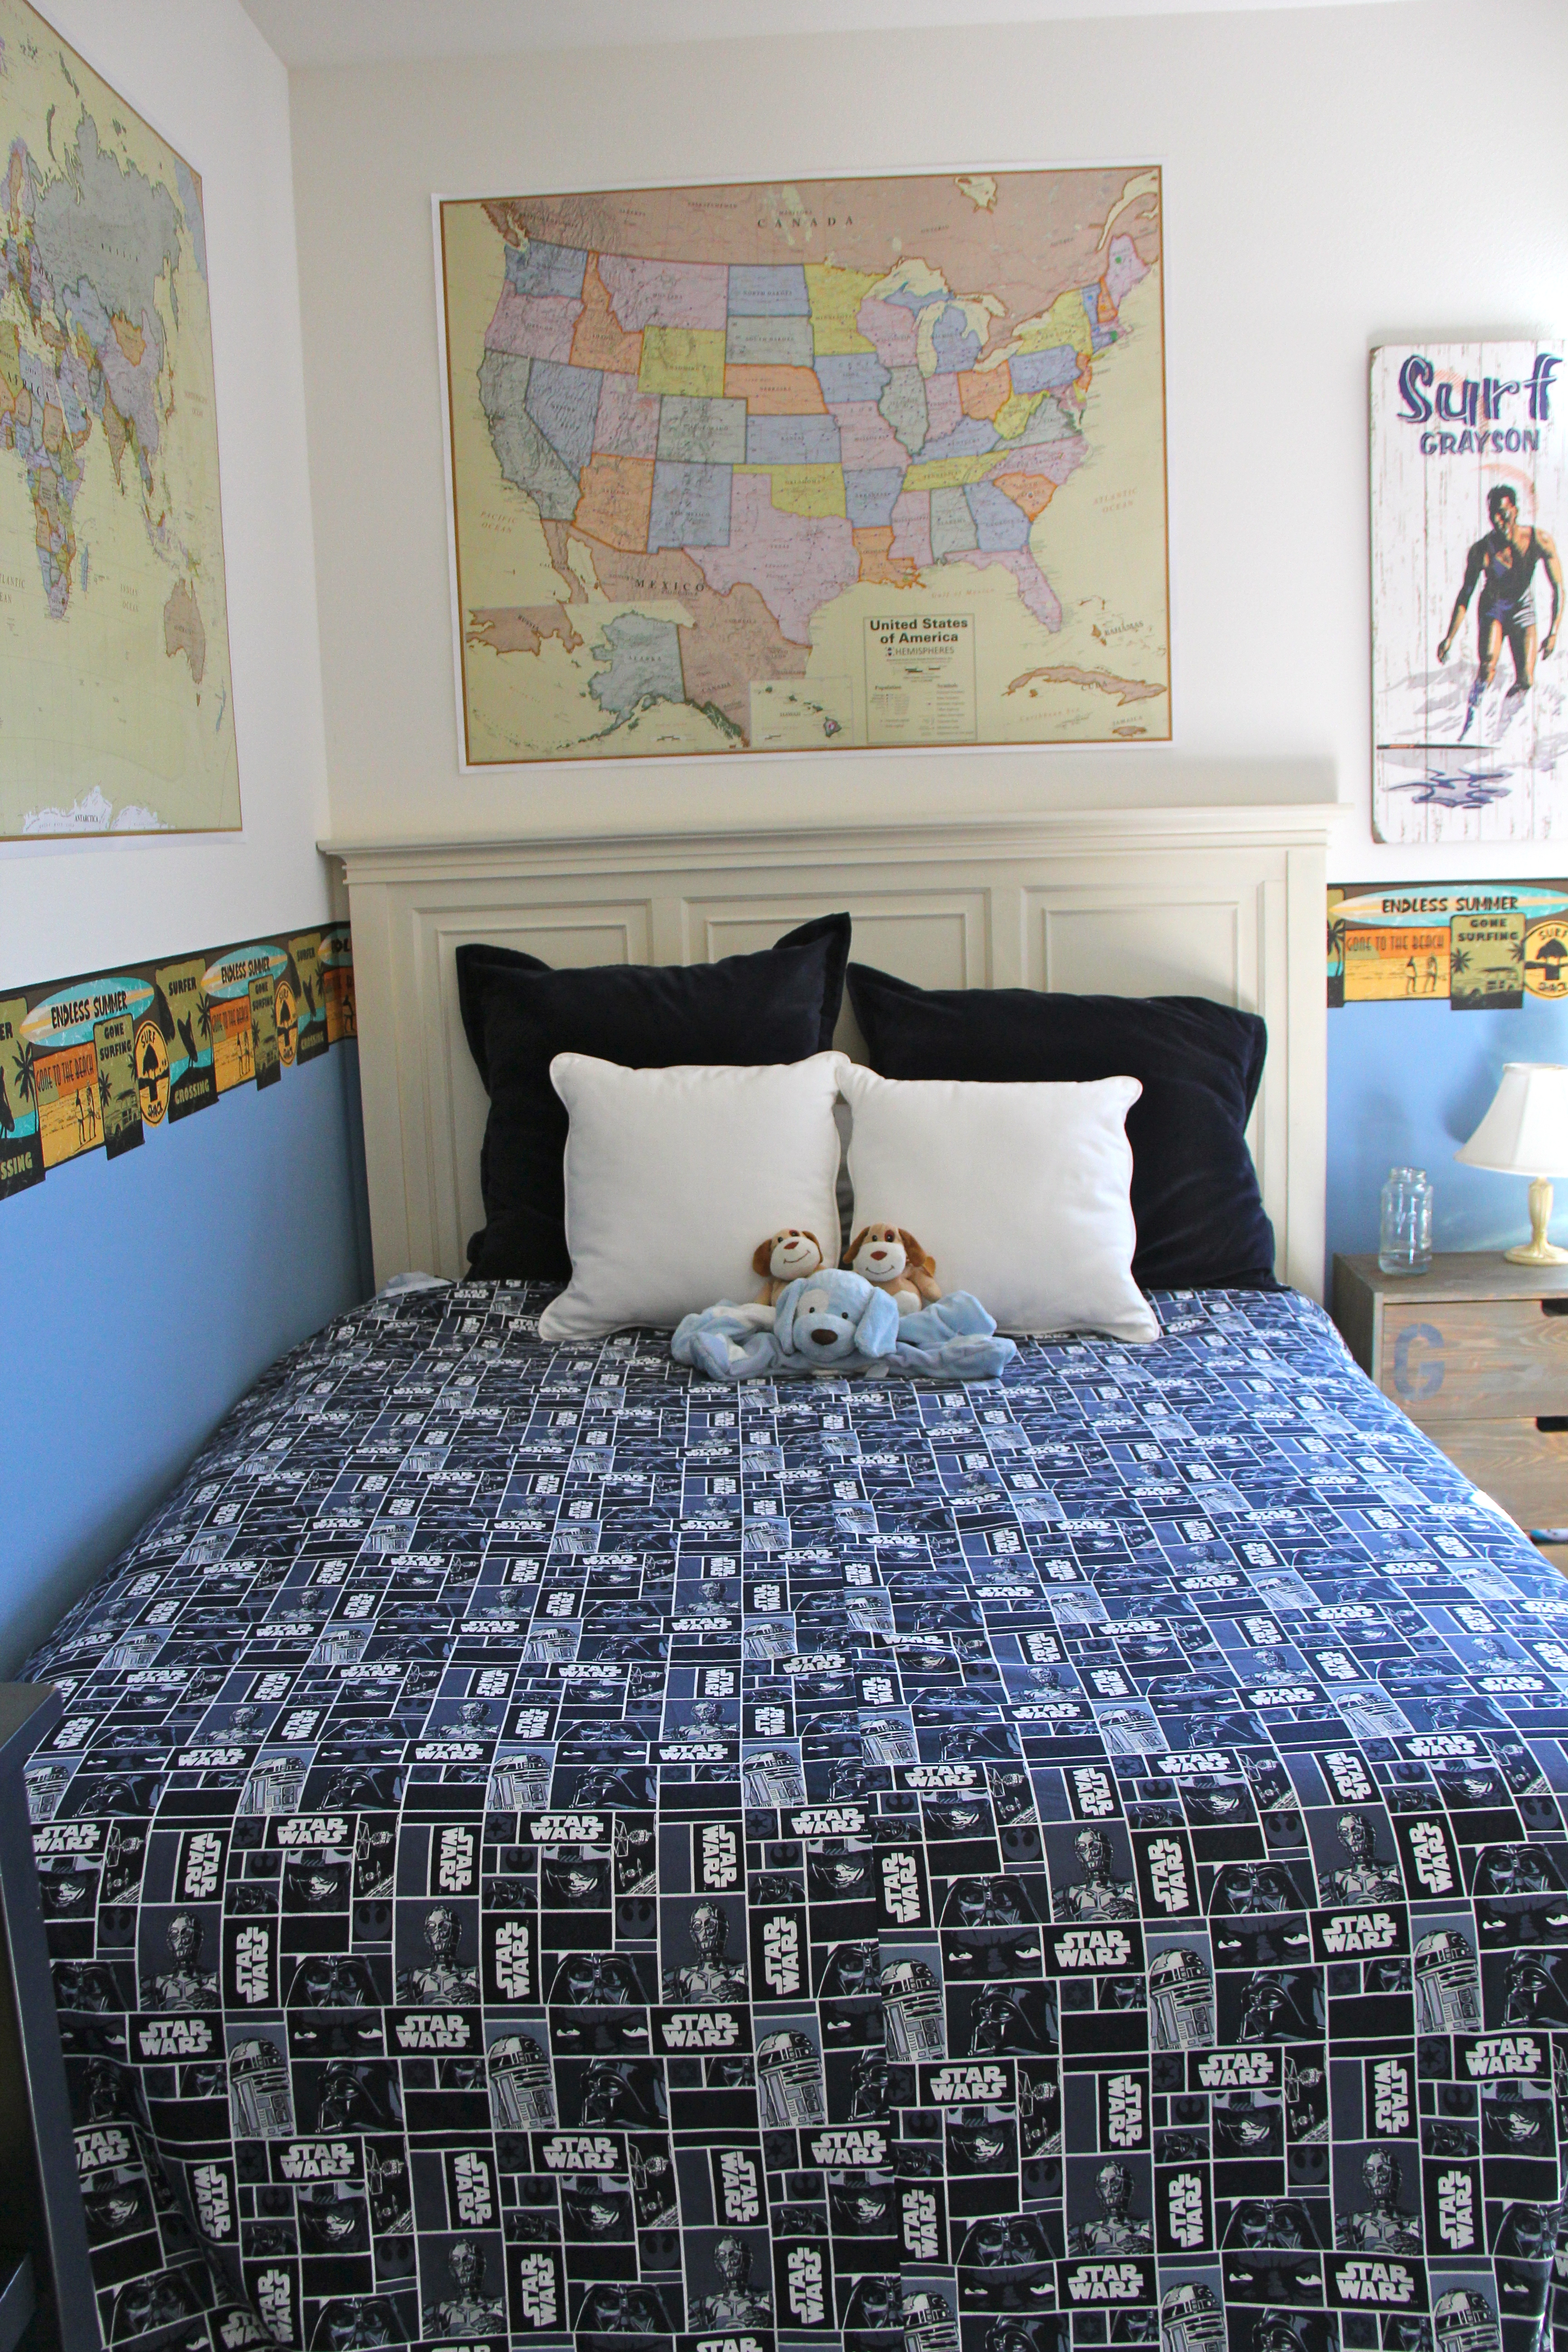
- feeling like star wars during naptime? great! spider-man for bedtime? perfect, flip the duvet over with ease at your kid’s whim!
Download :: Queen duvet instructions :: imeeshu.com.
Enjoy!



I truly believe that when it comes to beniddg and other home products, Bed Bath and Beyond is the store to go to. Thanks to your article as this helped me a lot in saving money when I purchase something from the store.